Designing electronic instruments - 6

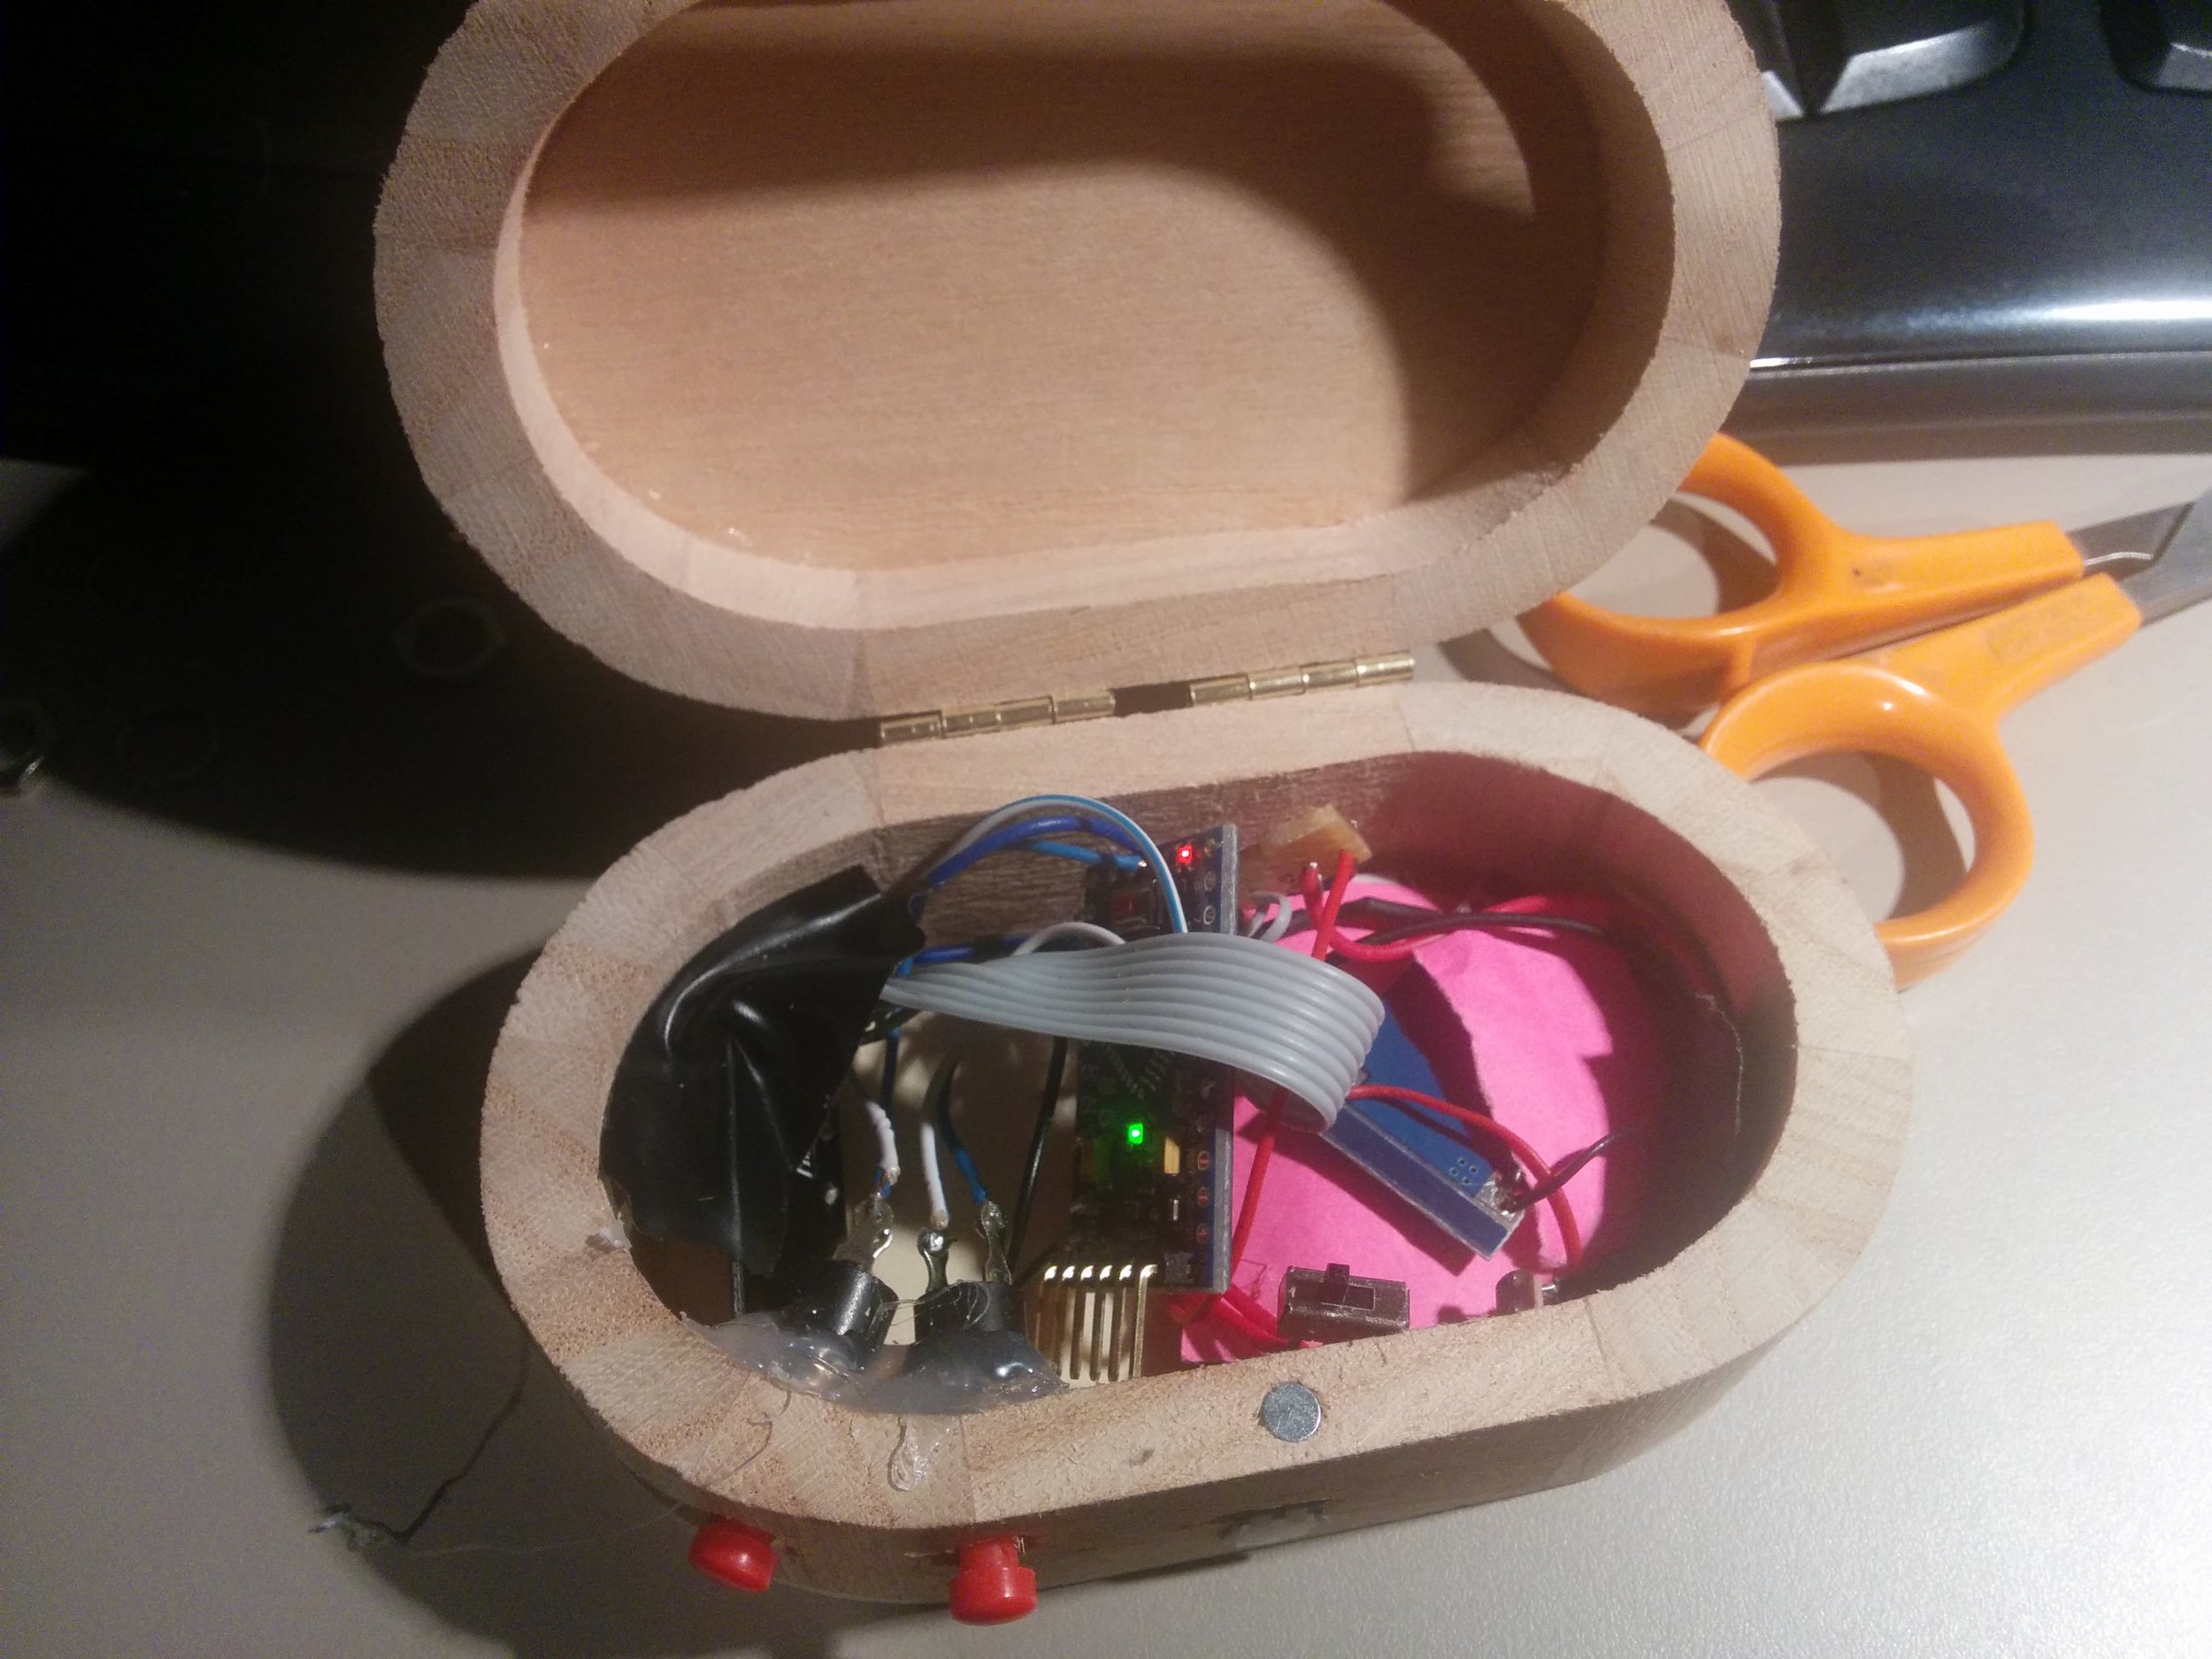
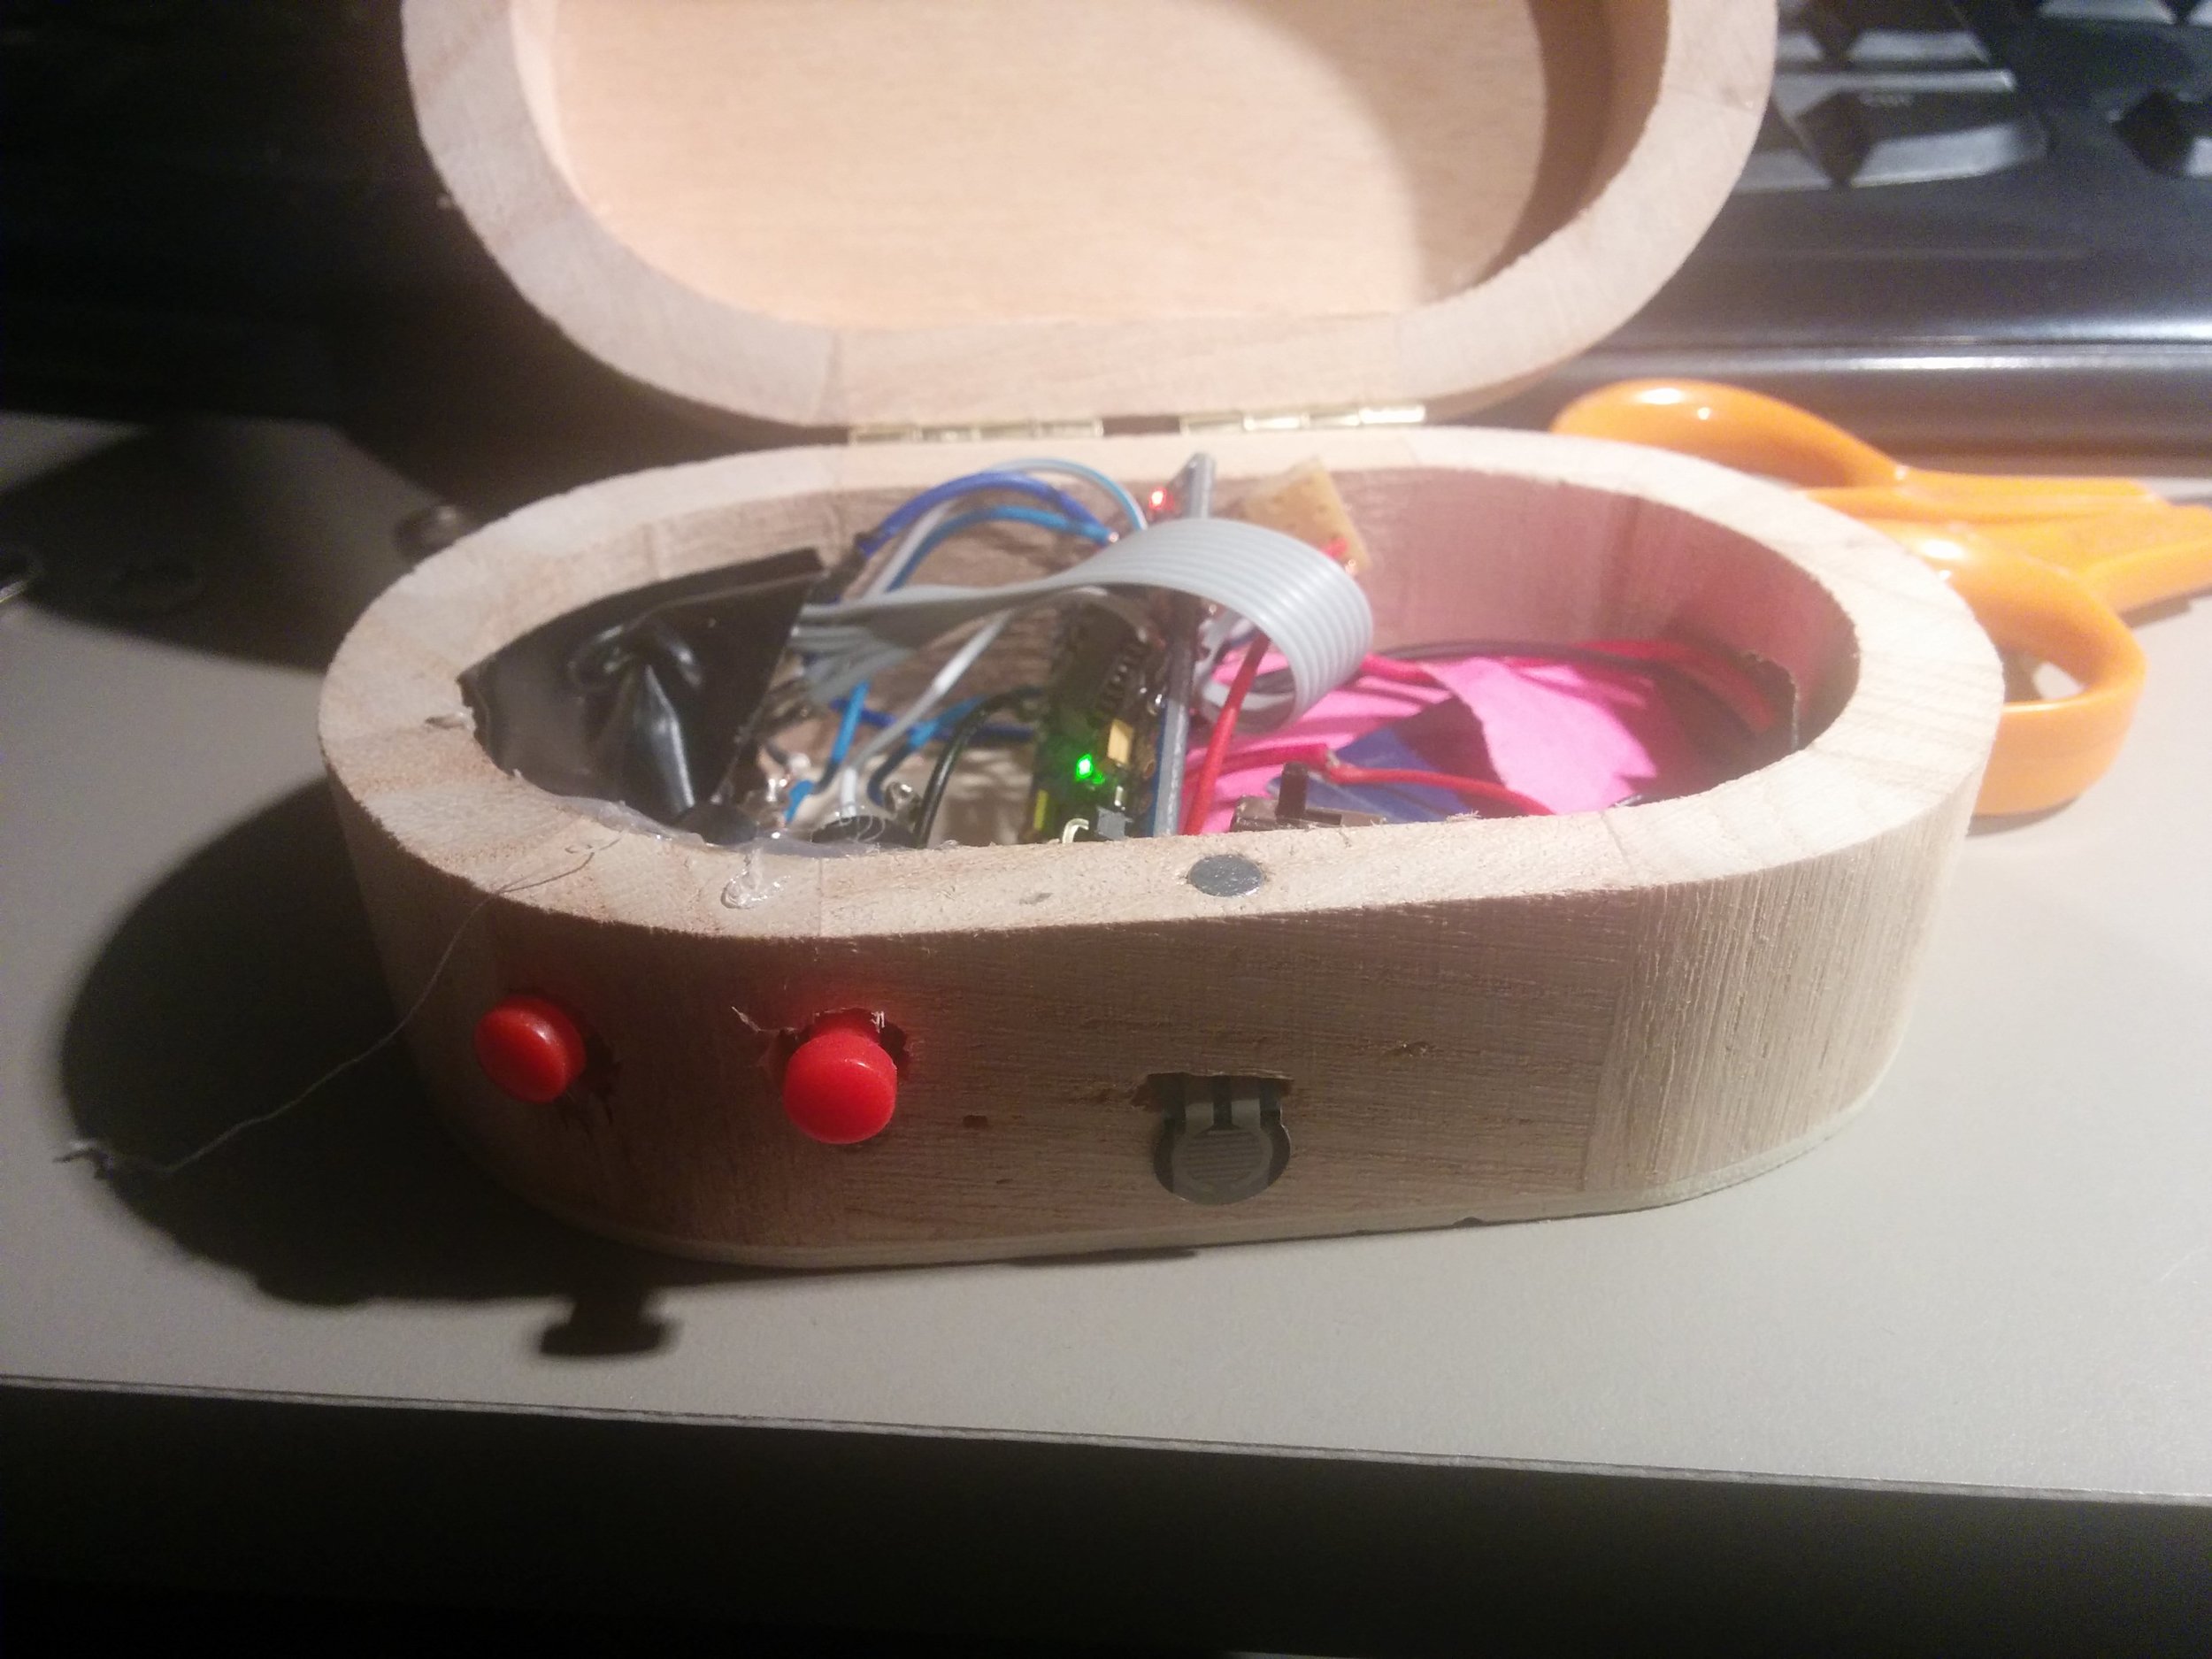
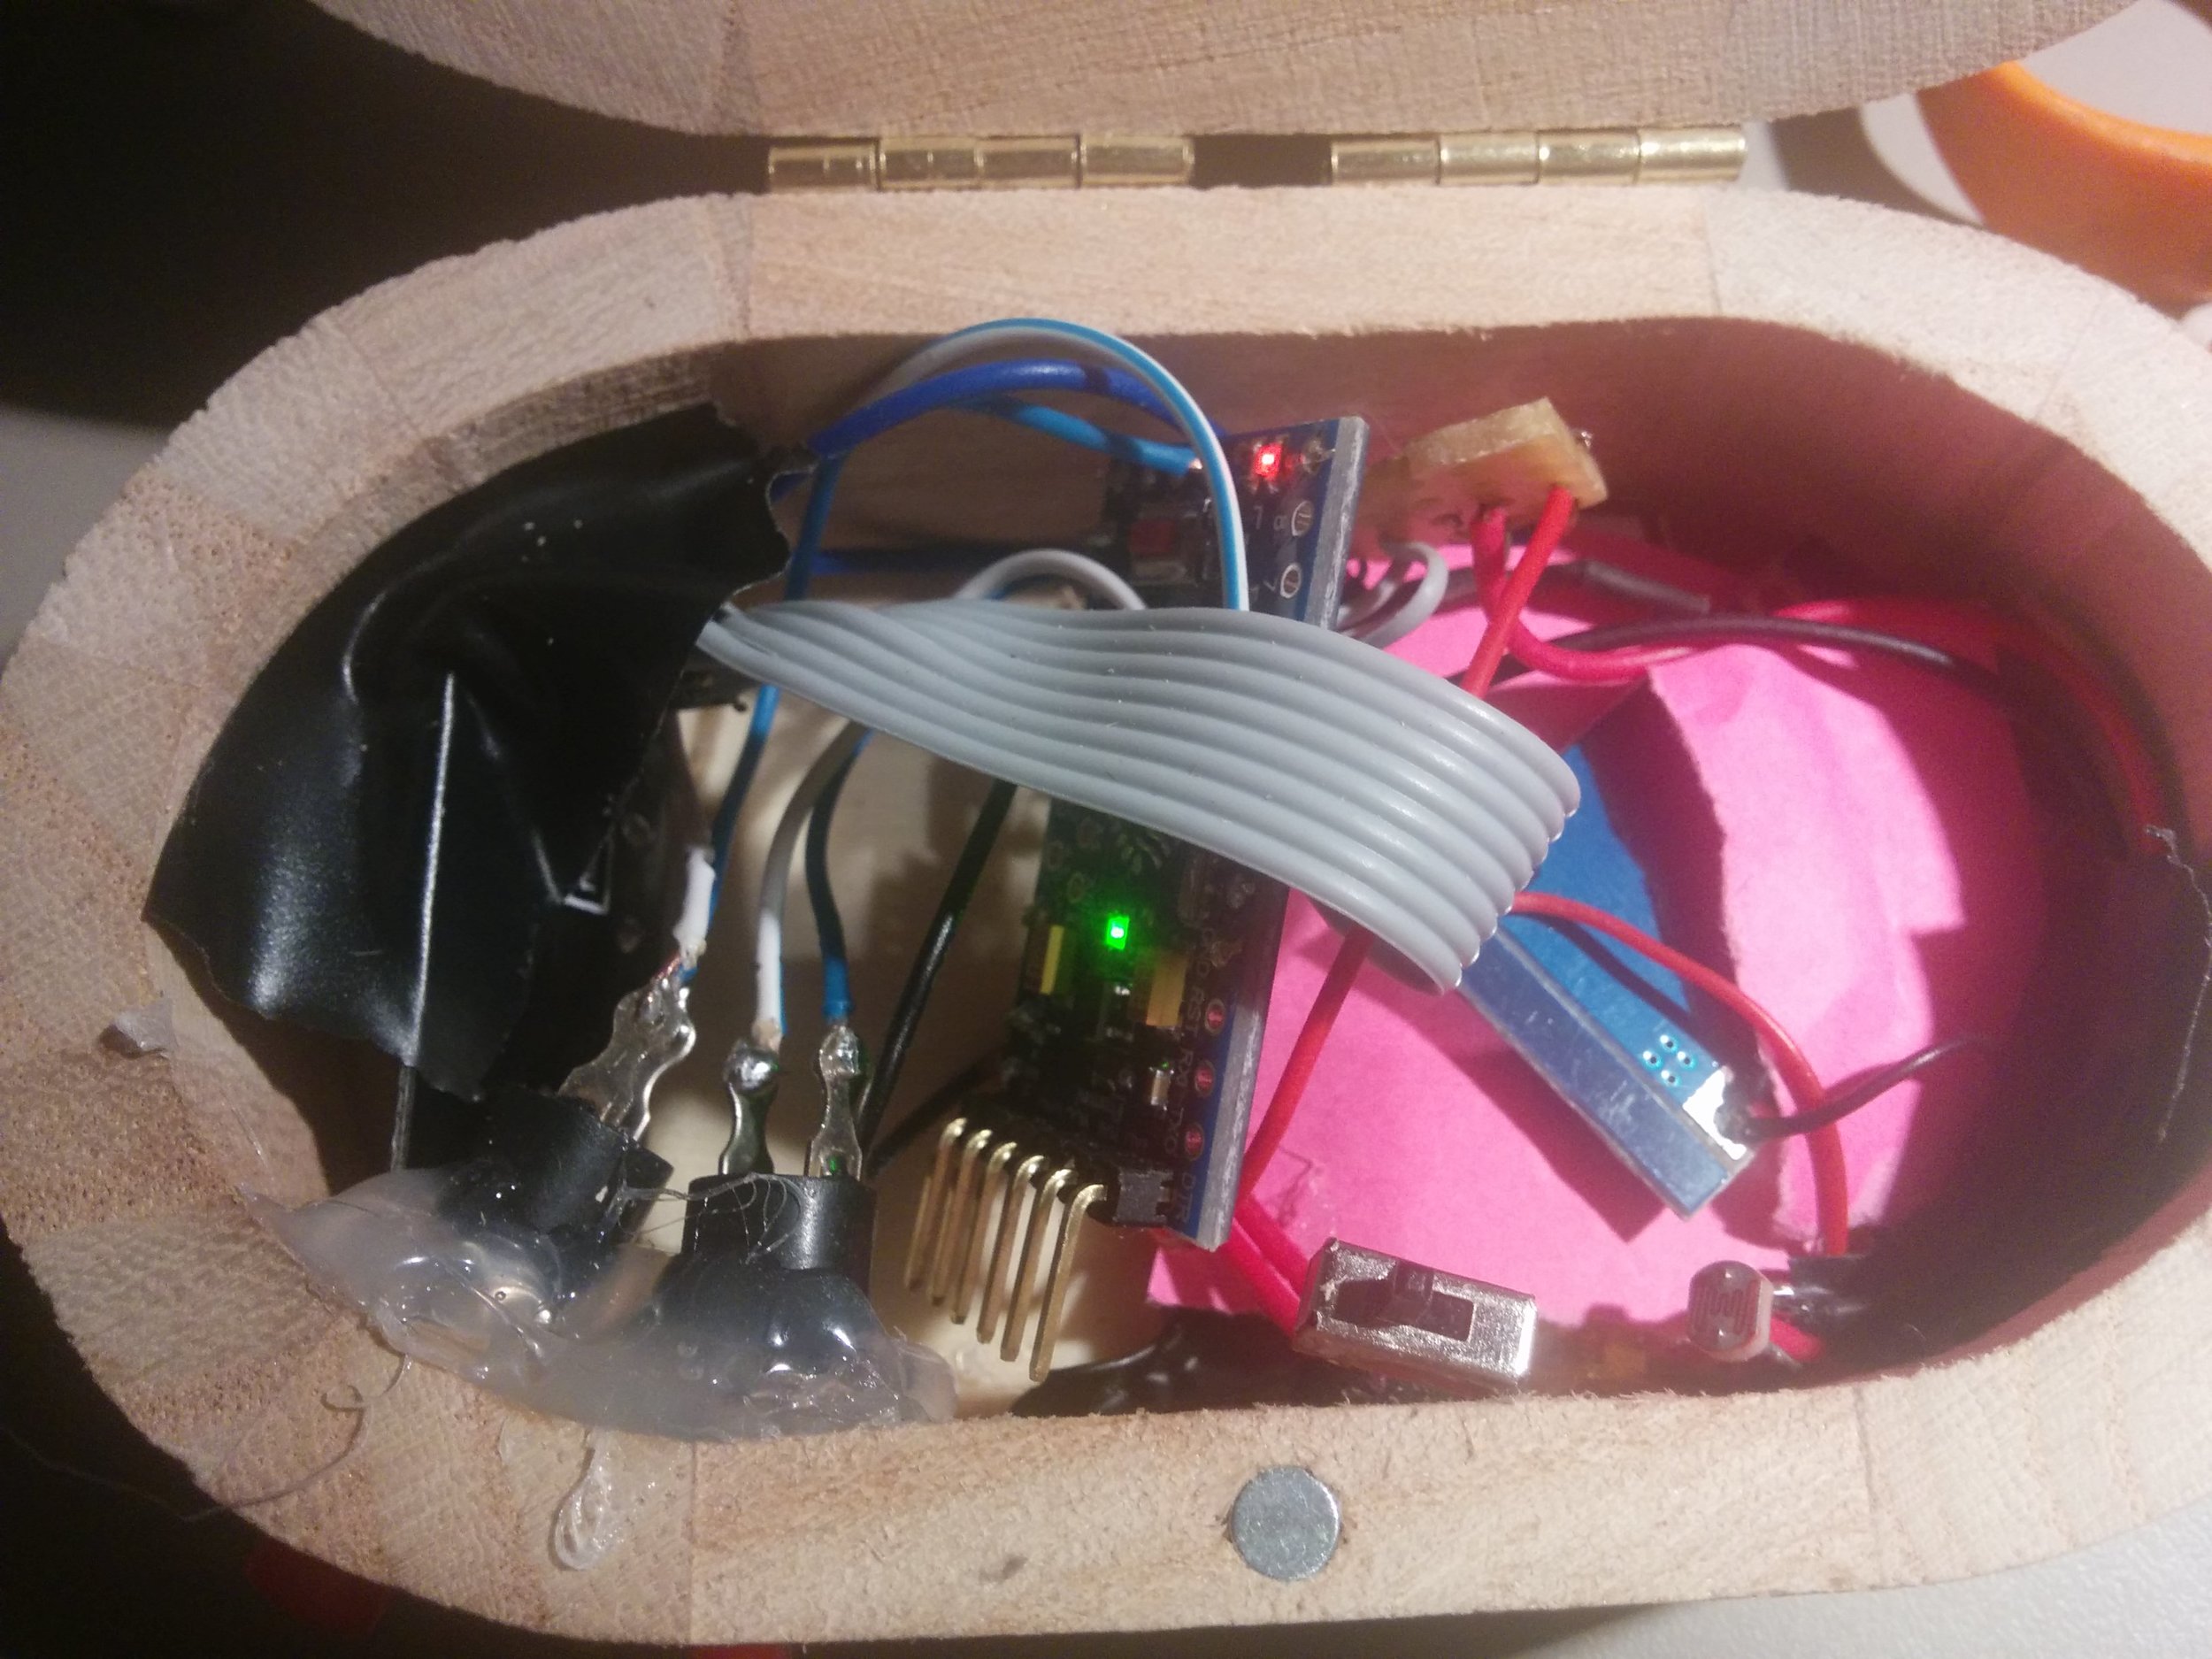
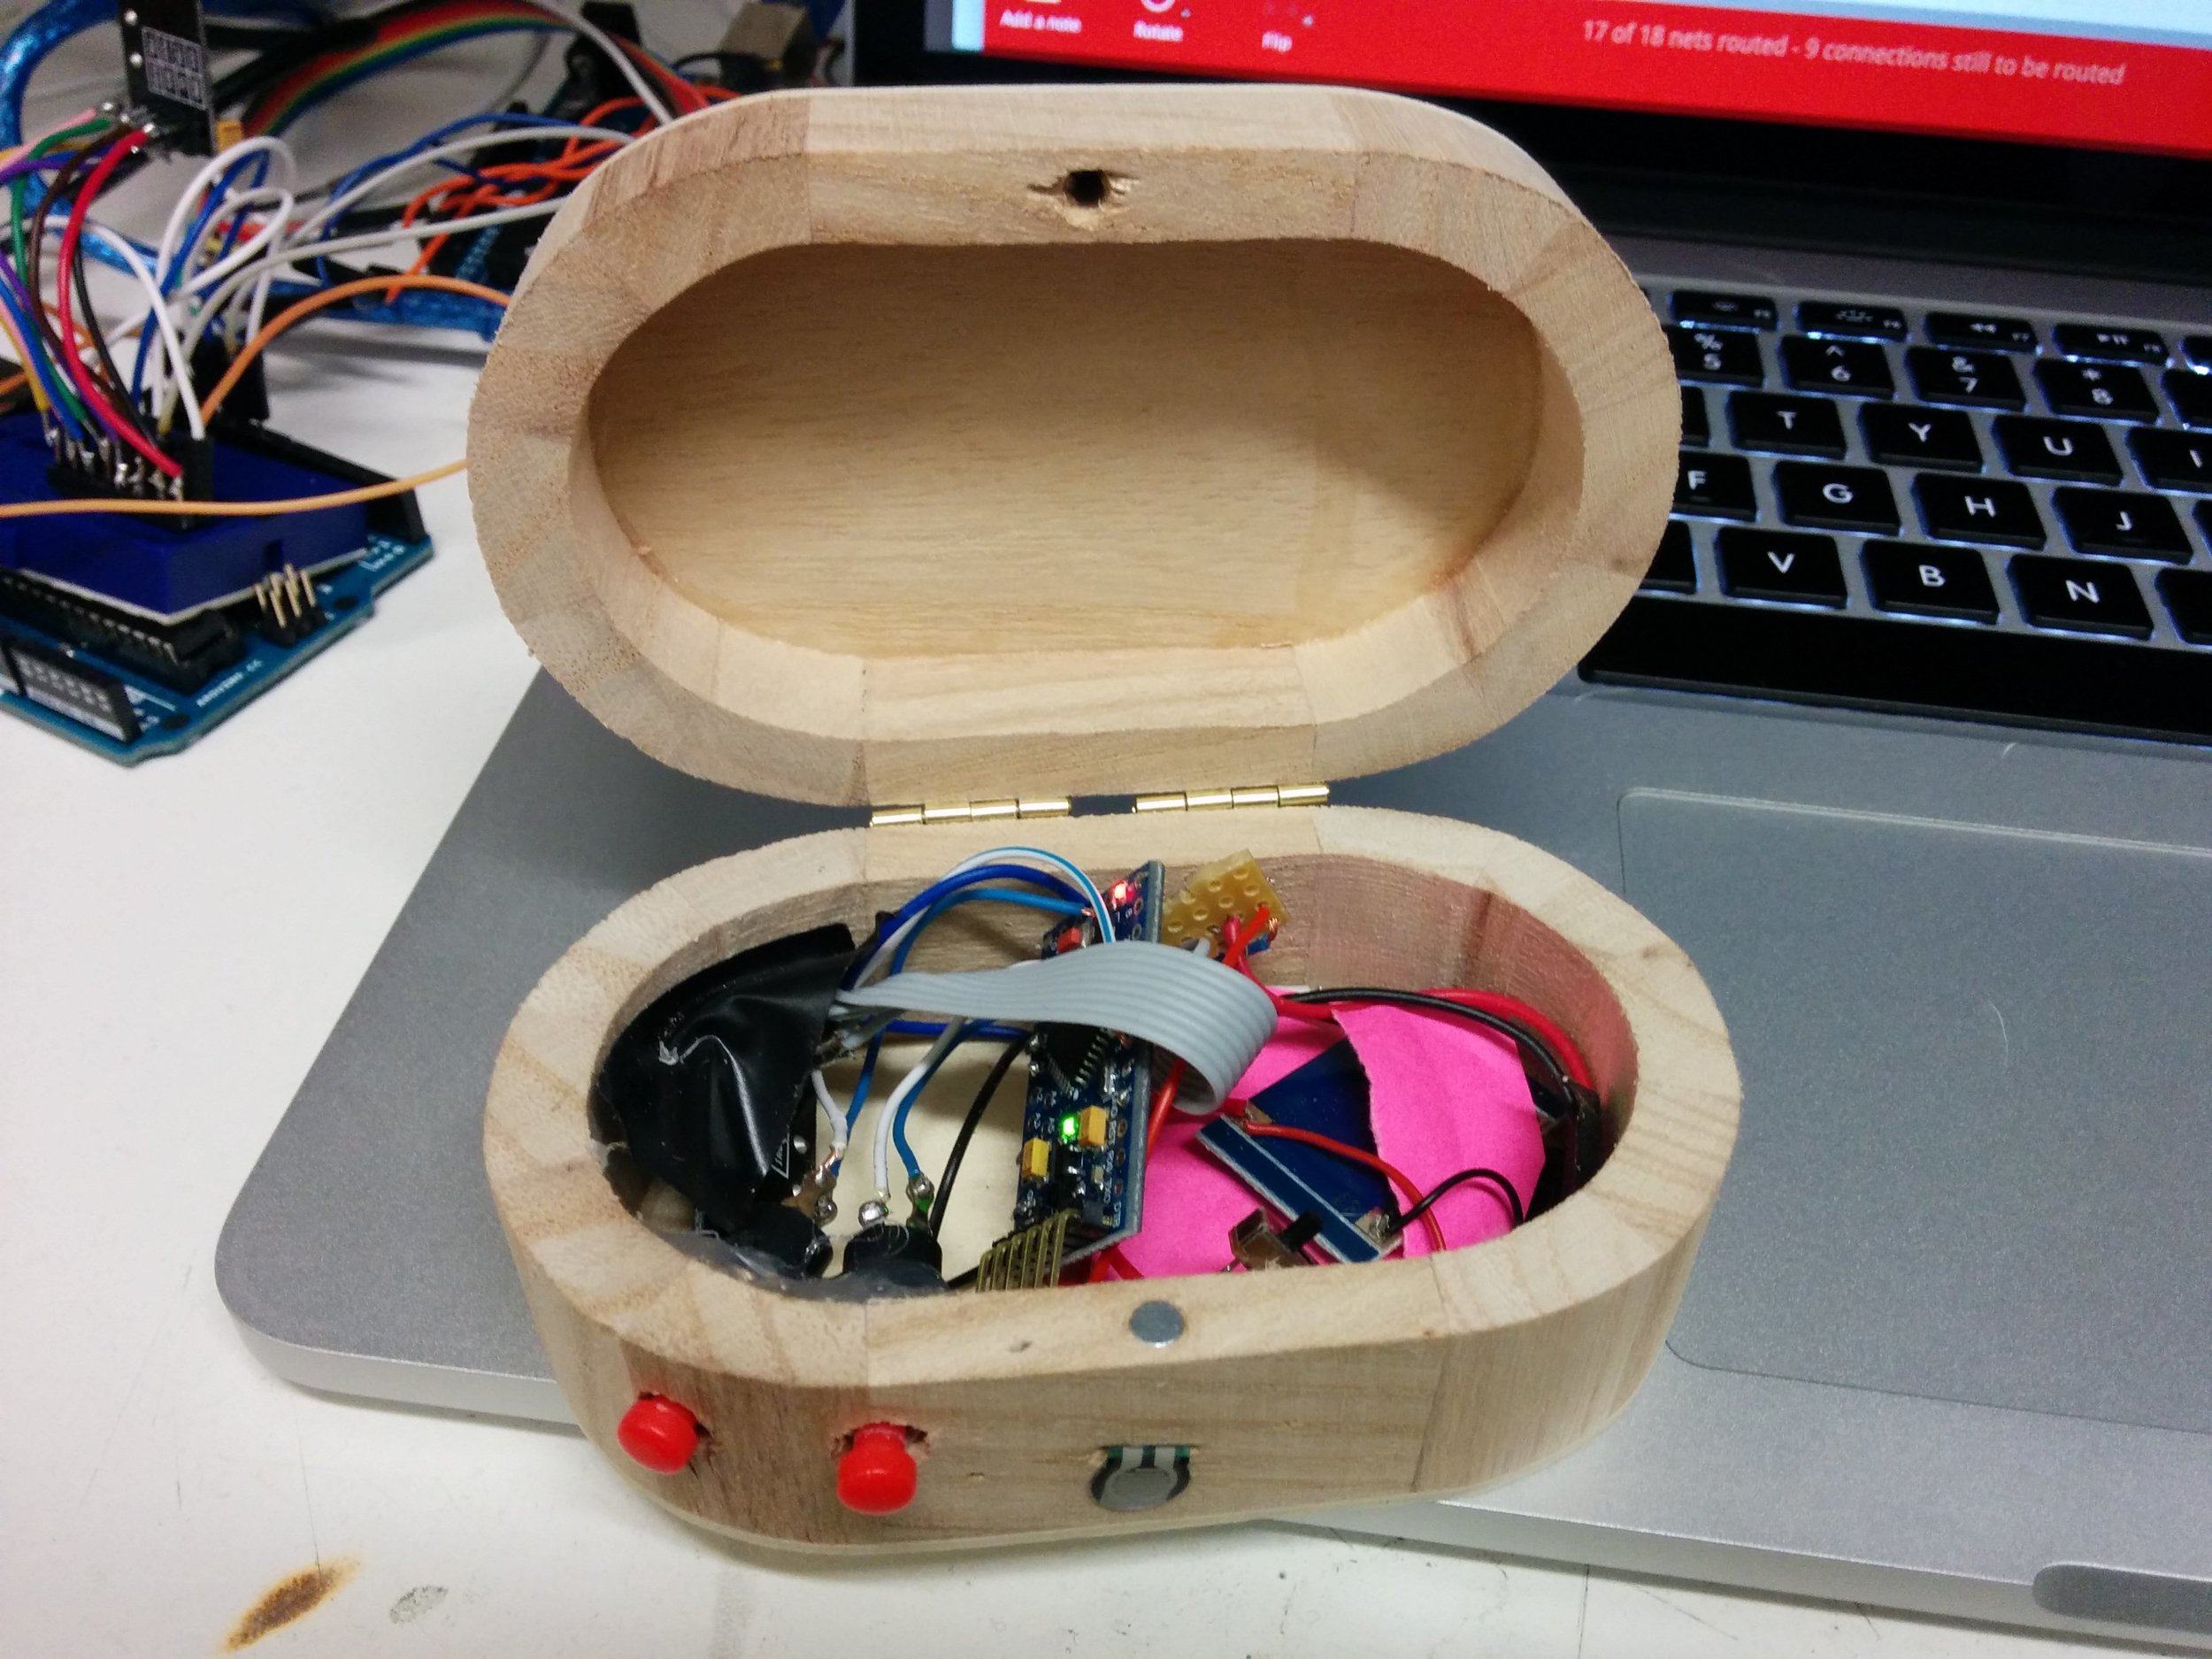
We have been having a bit of a hiatus from developing hardware for the orchestra project at Threeways School for multiple reasons. On re-engaging with the project we started examining the issues we often have with developing accessible instruments. One of the main things we focussed on was the fact that we always have to create new software when we want to try out some hardware, whether it be an existing device or something bespoke. Wouldn't it be great if we had some kind of modular system that we could plug any bit of hardware into and map its controls to various sound generators/effectors, parameters etc... To some extent with a Max patch to read the incoming control data and a Live template to do something with the data, you can do this. However, if we want to make stuff that can be accessed by anyone, or even stuff that is built in to an embedded system then we may want to avoid using Live and create something that can work as a Max read only patch.  

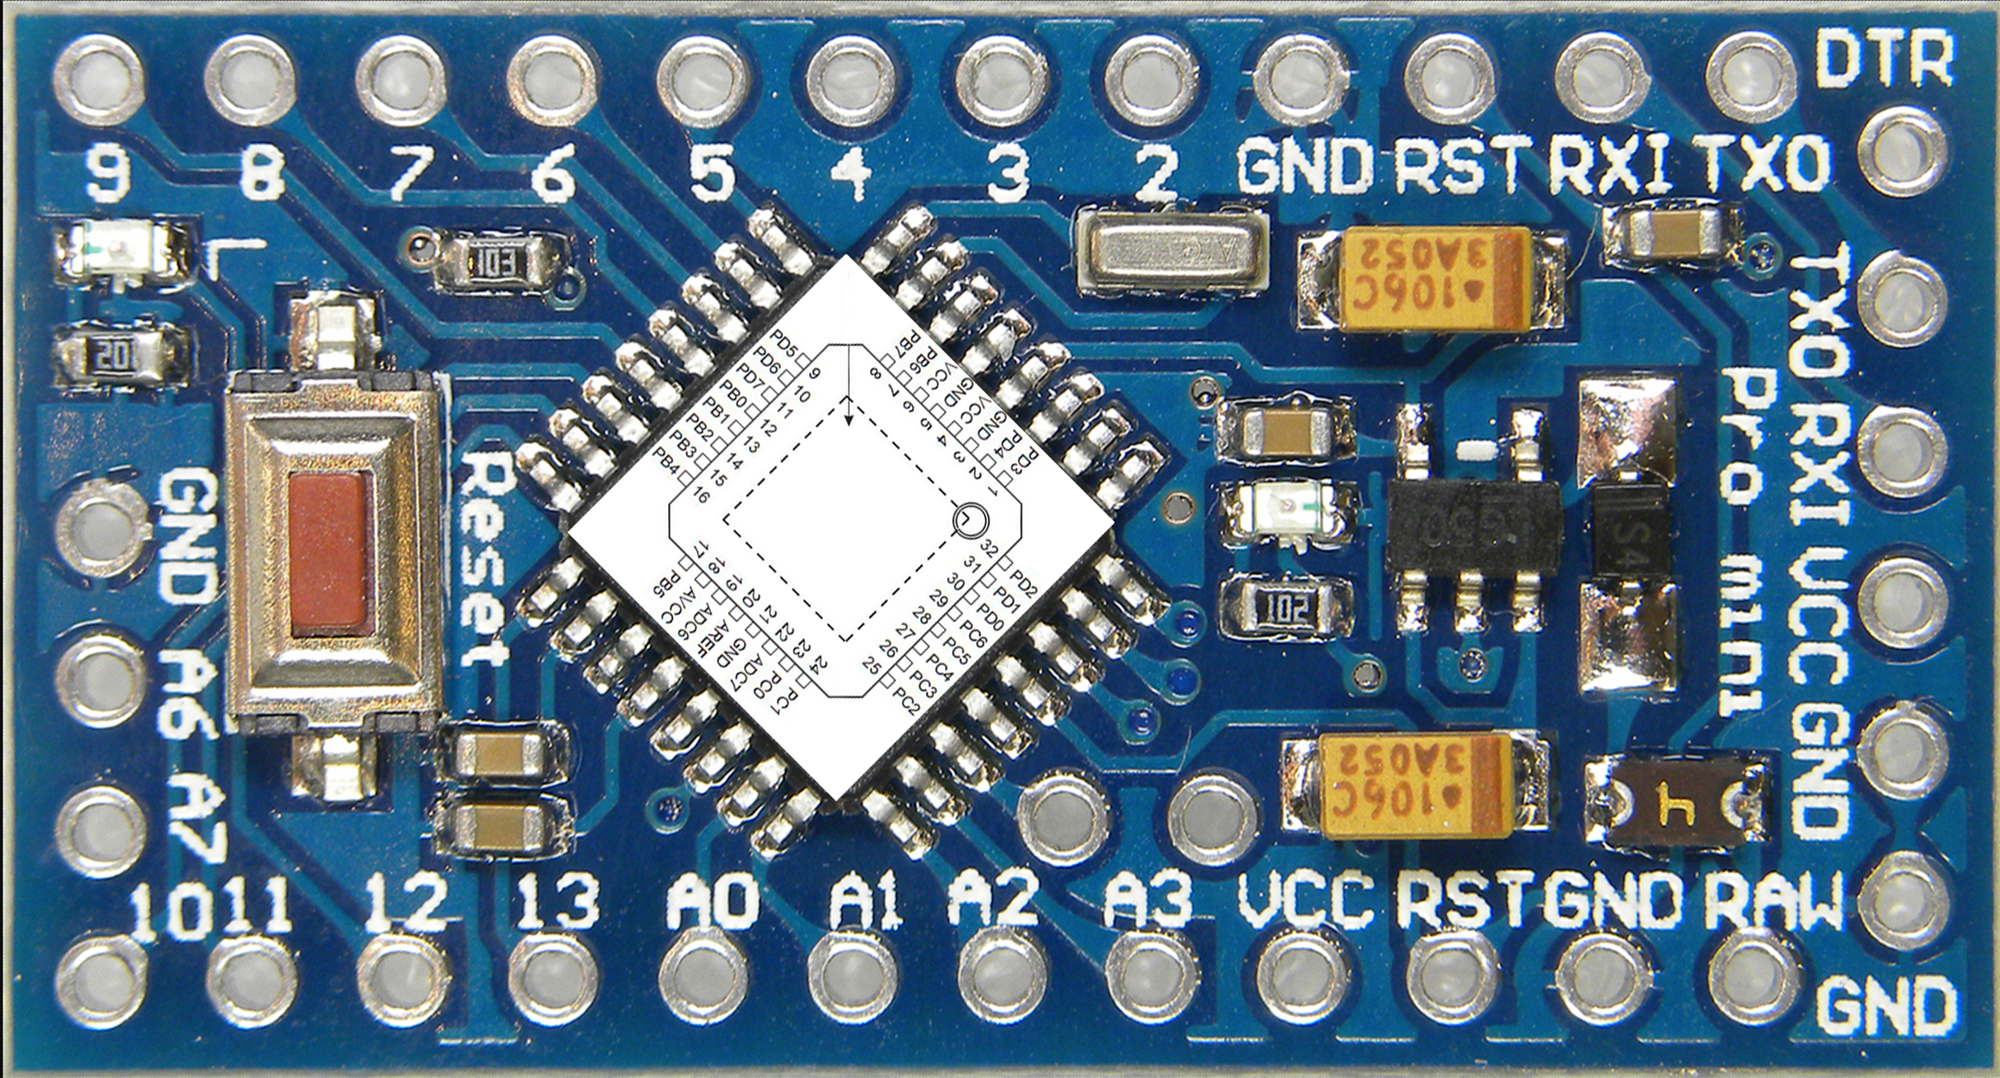
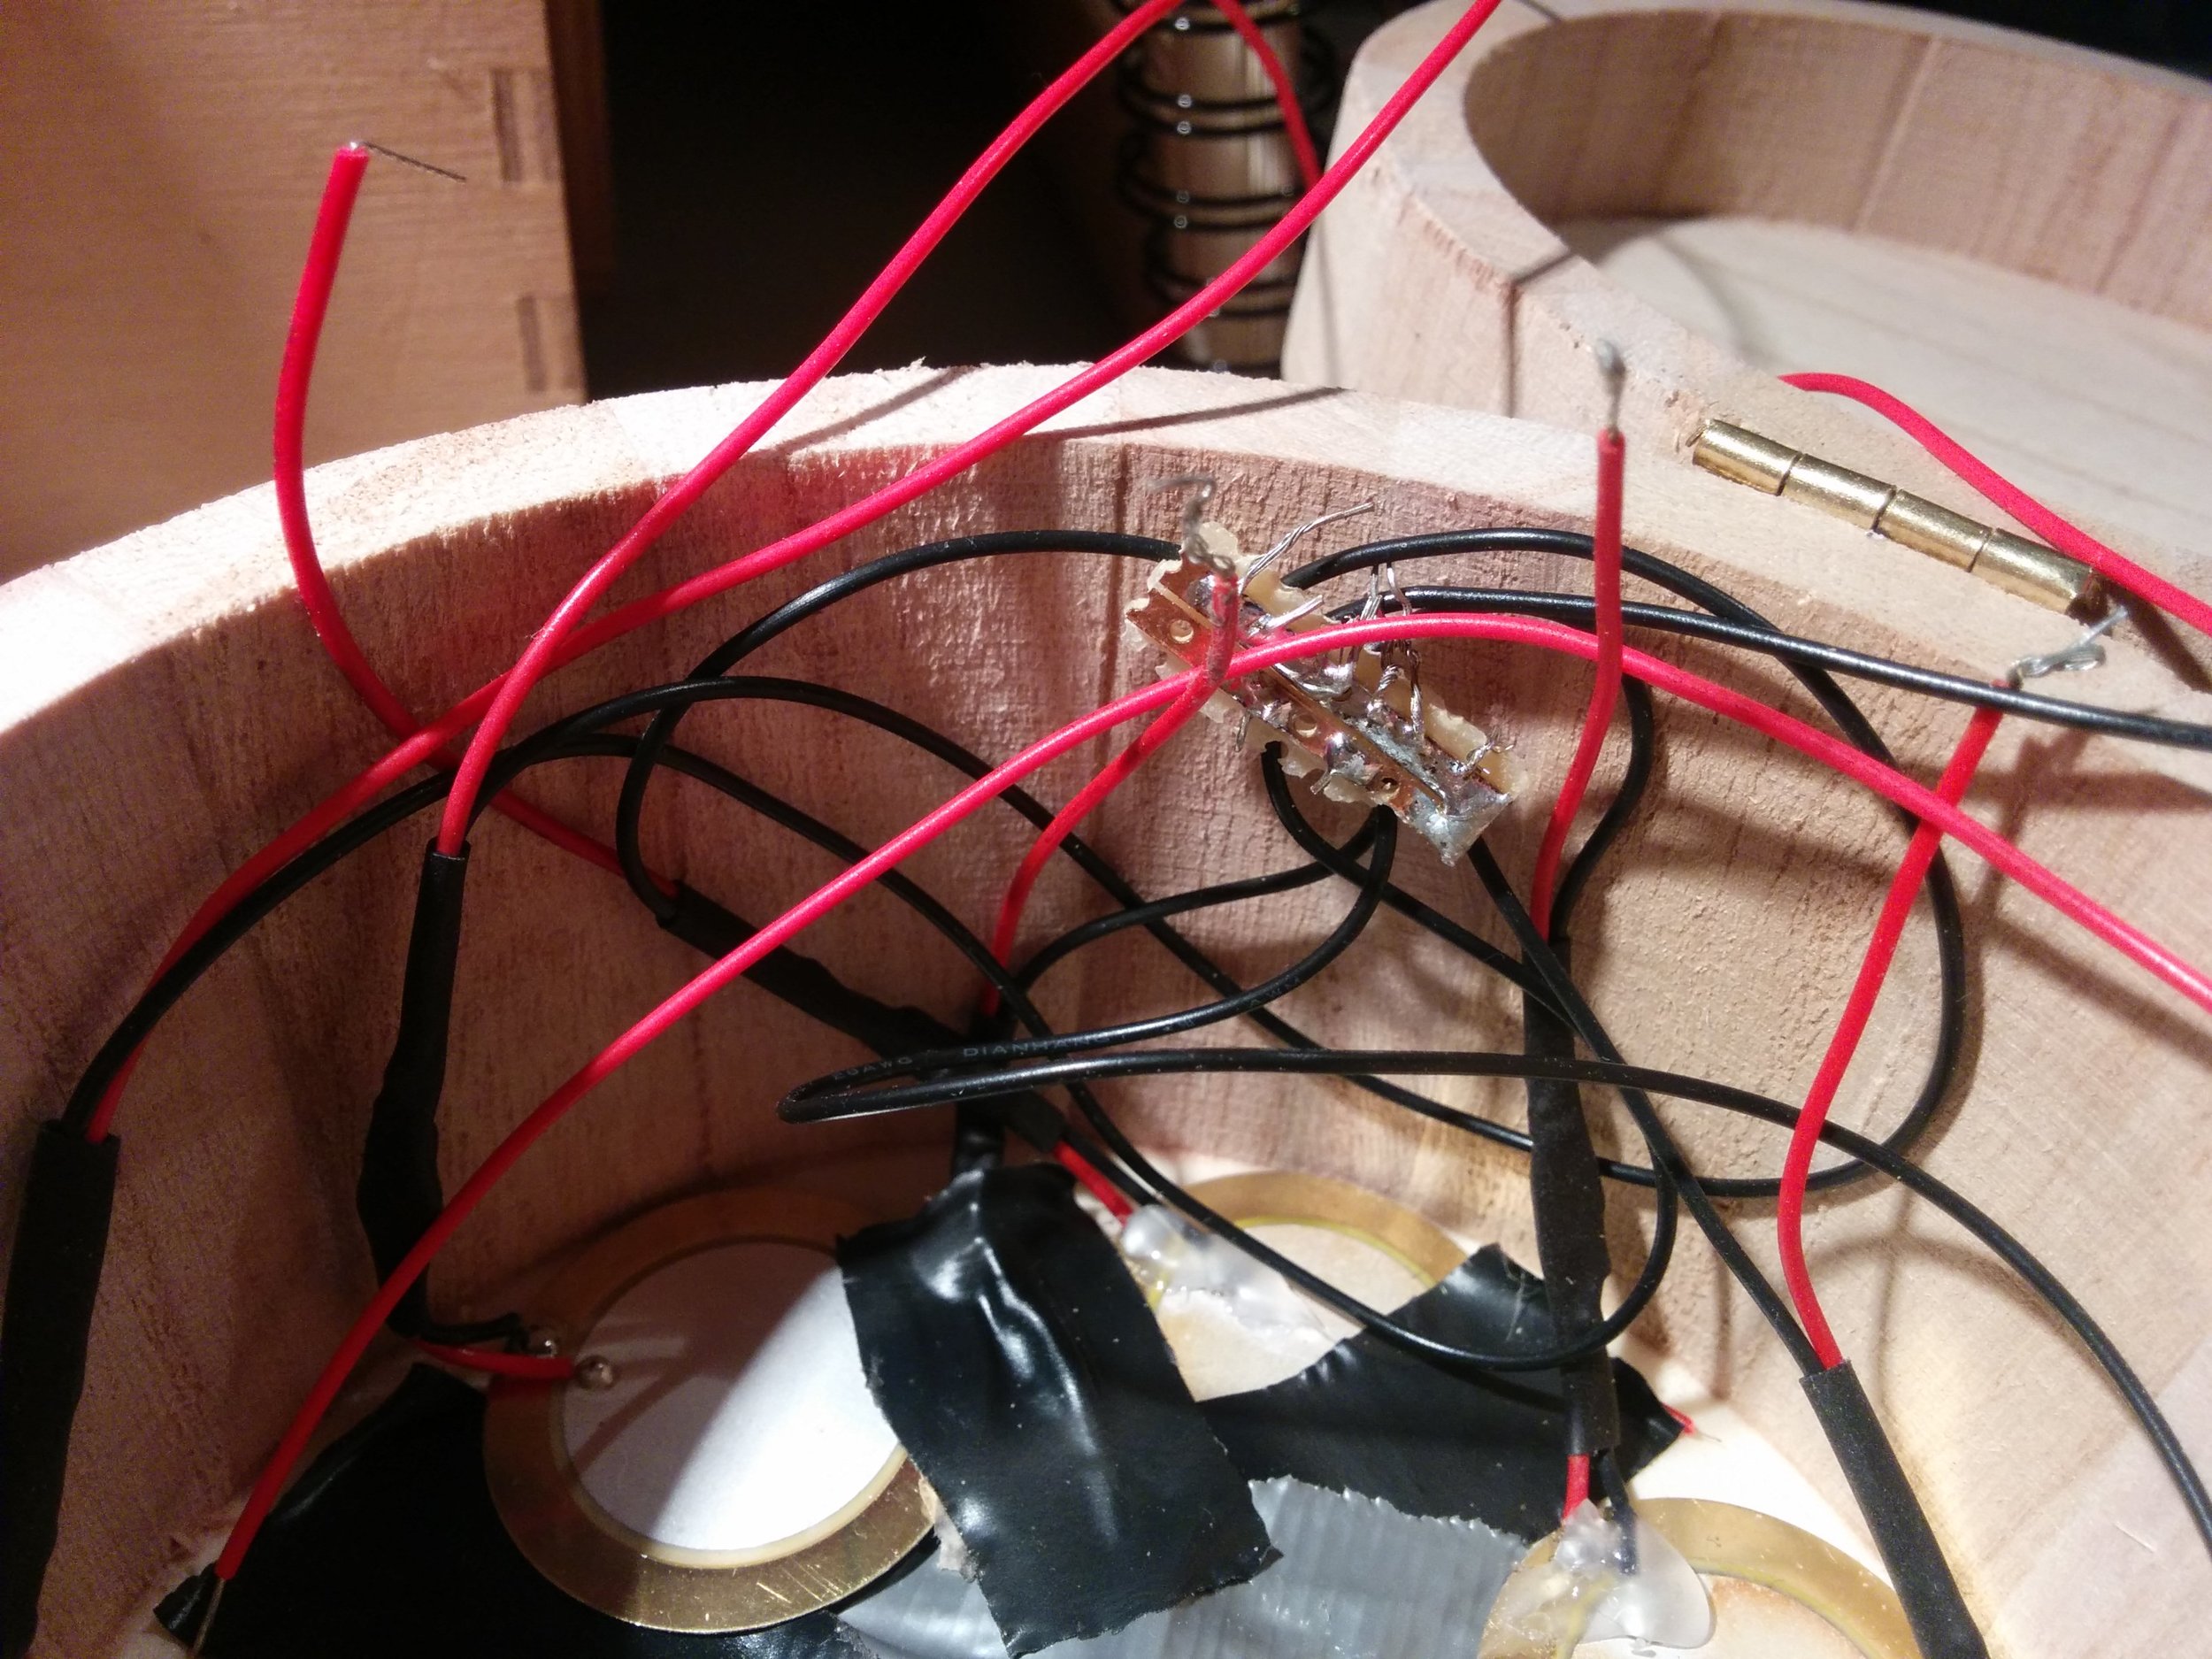
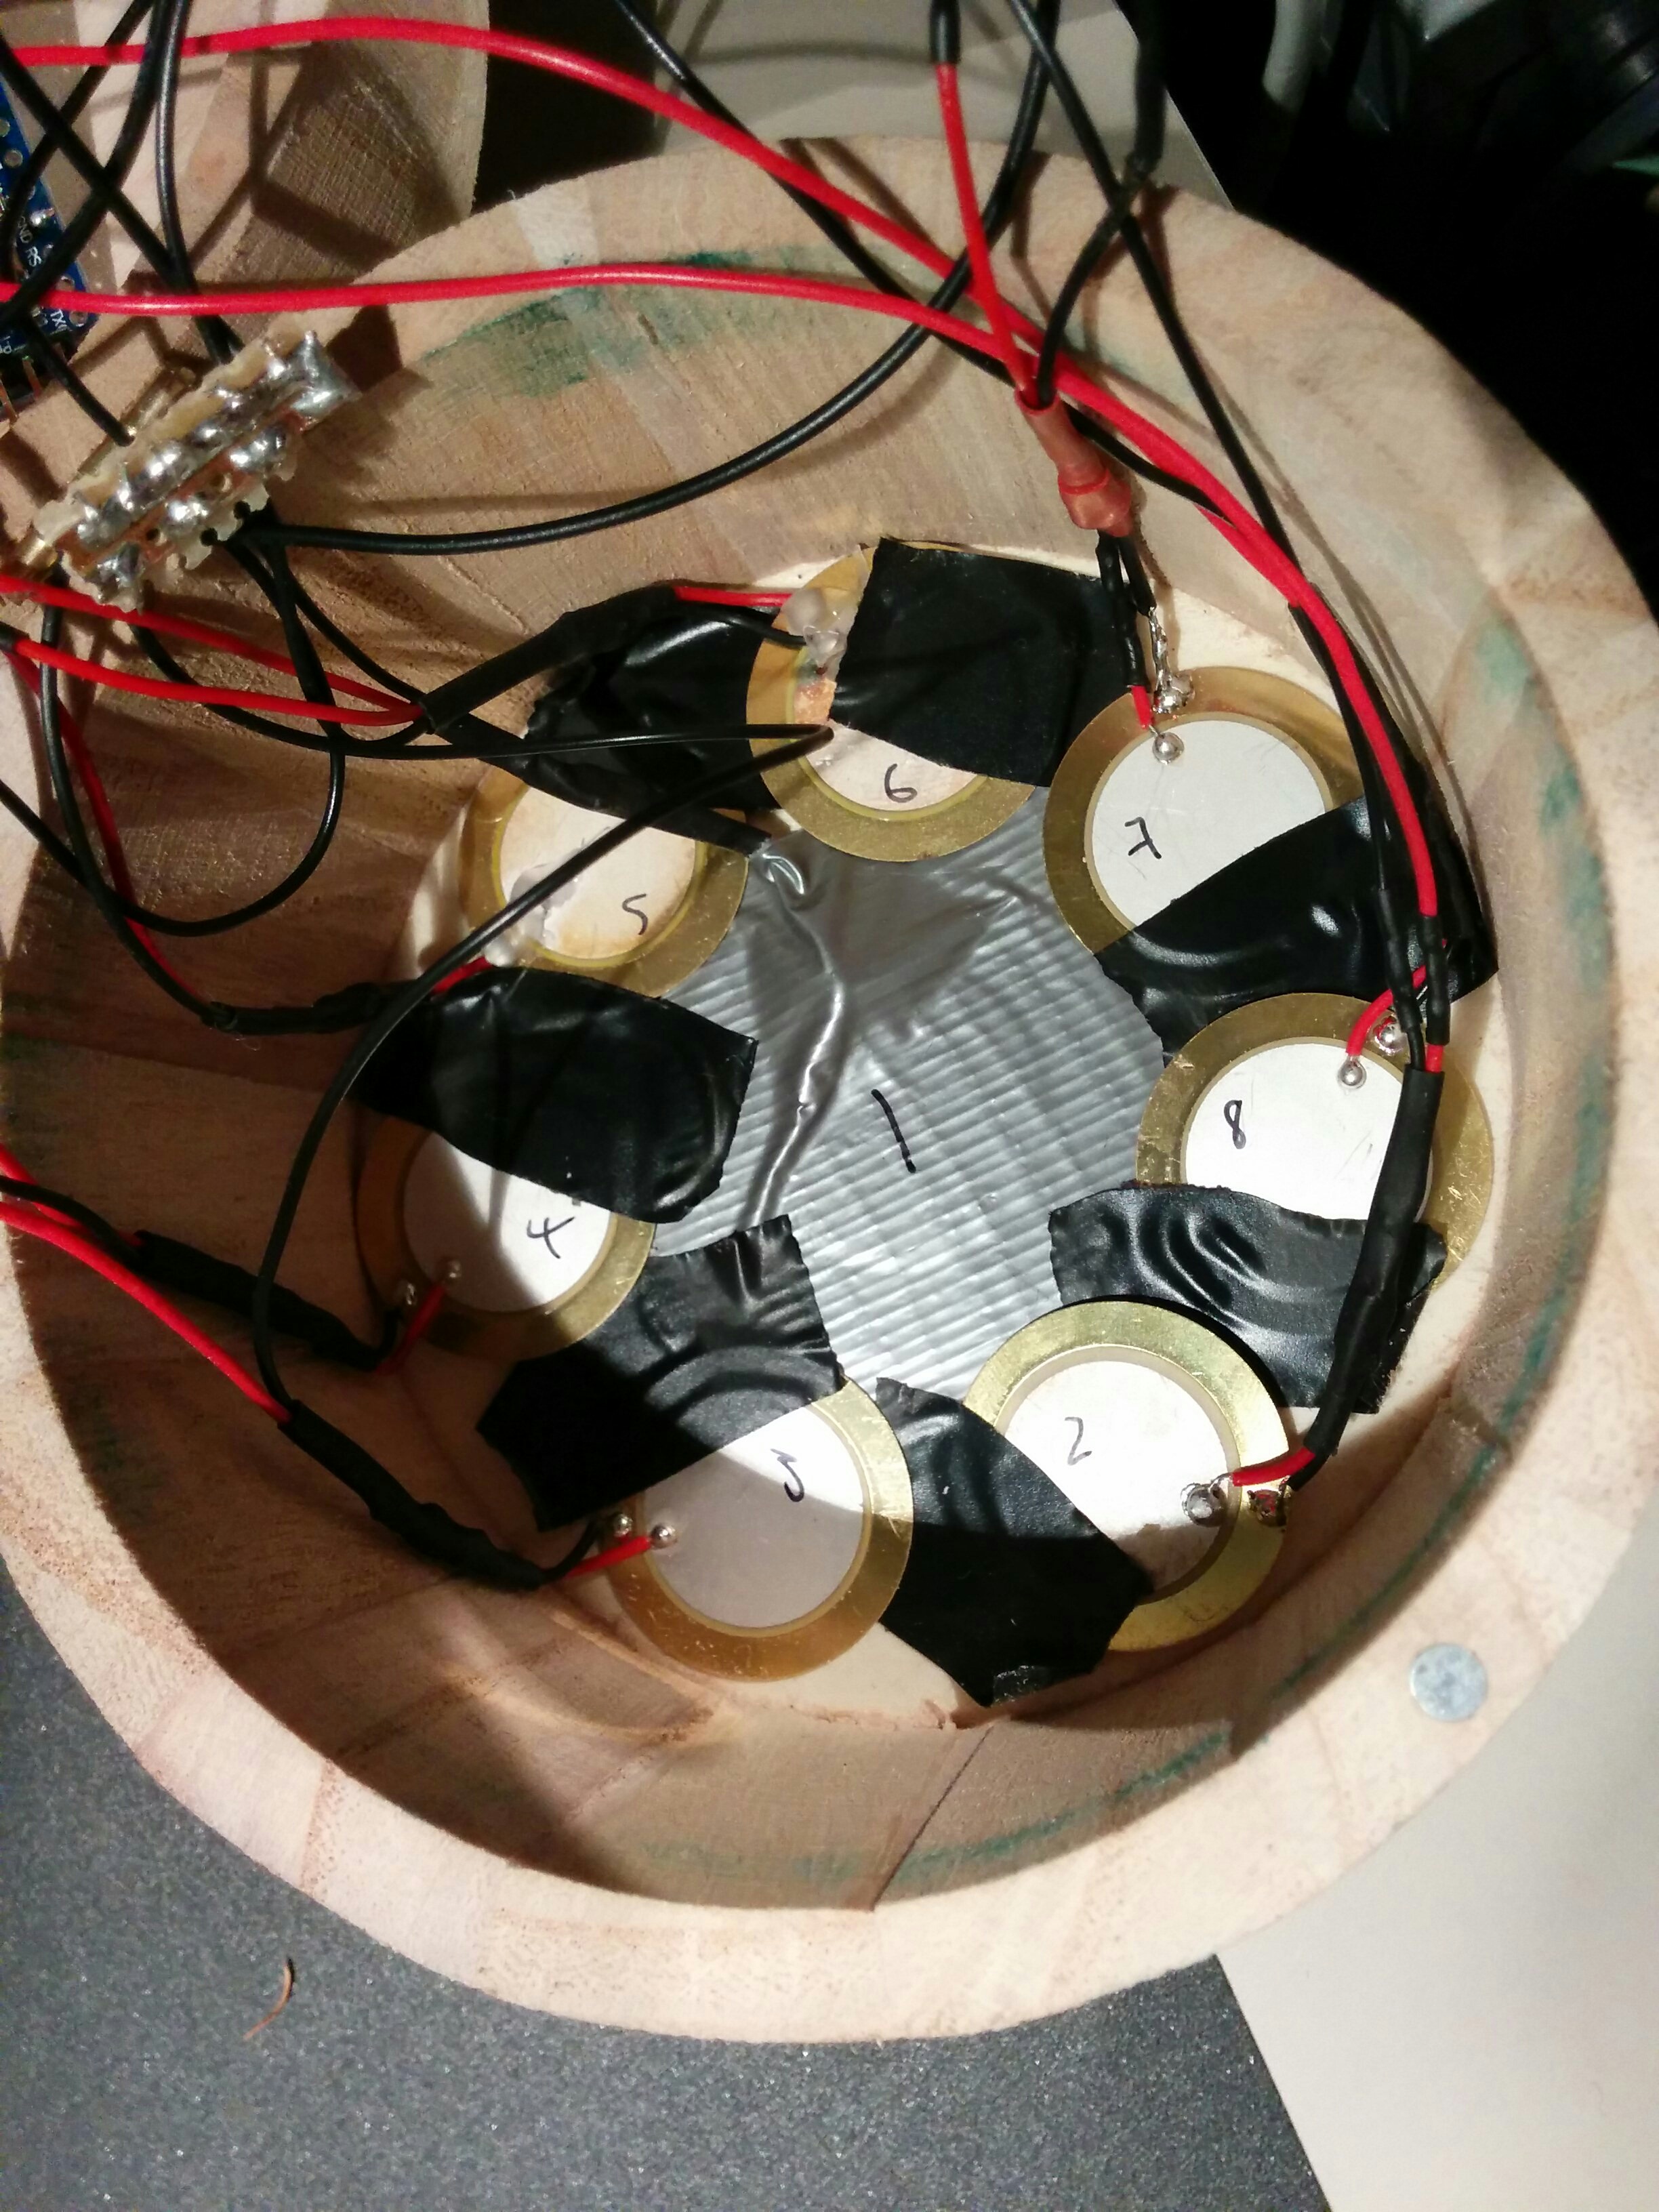
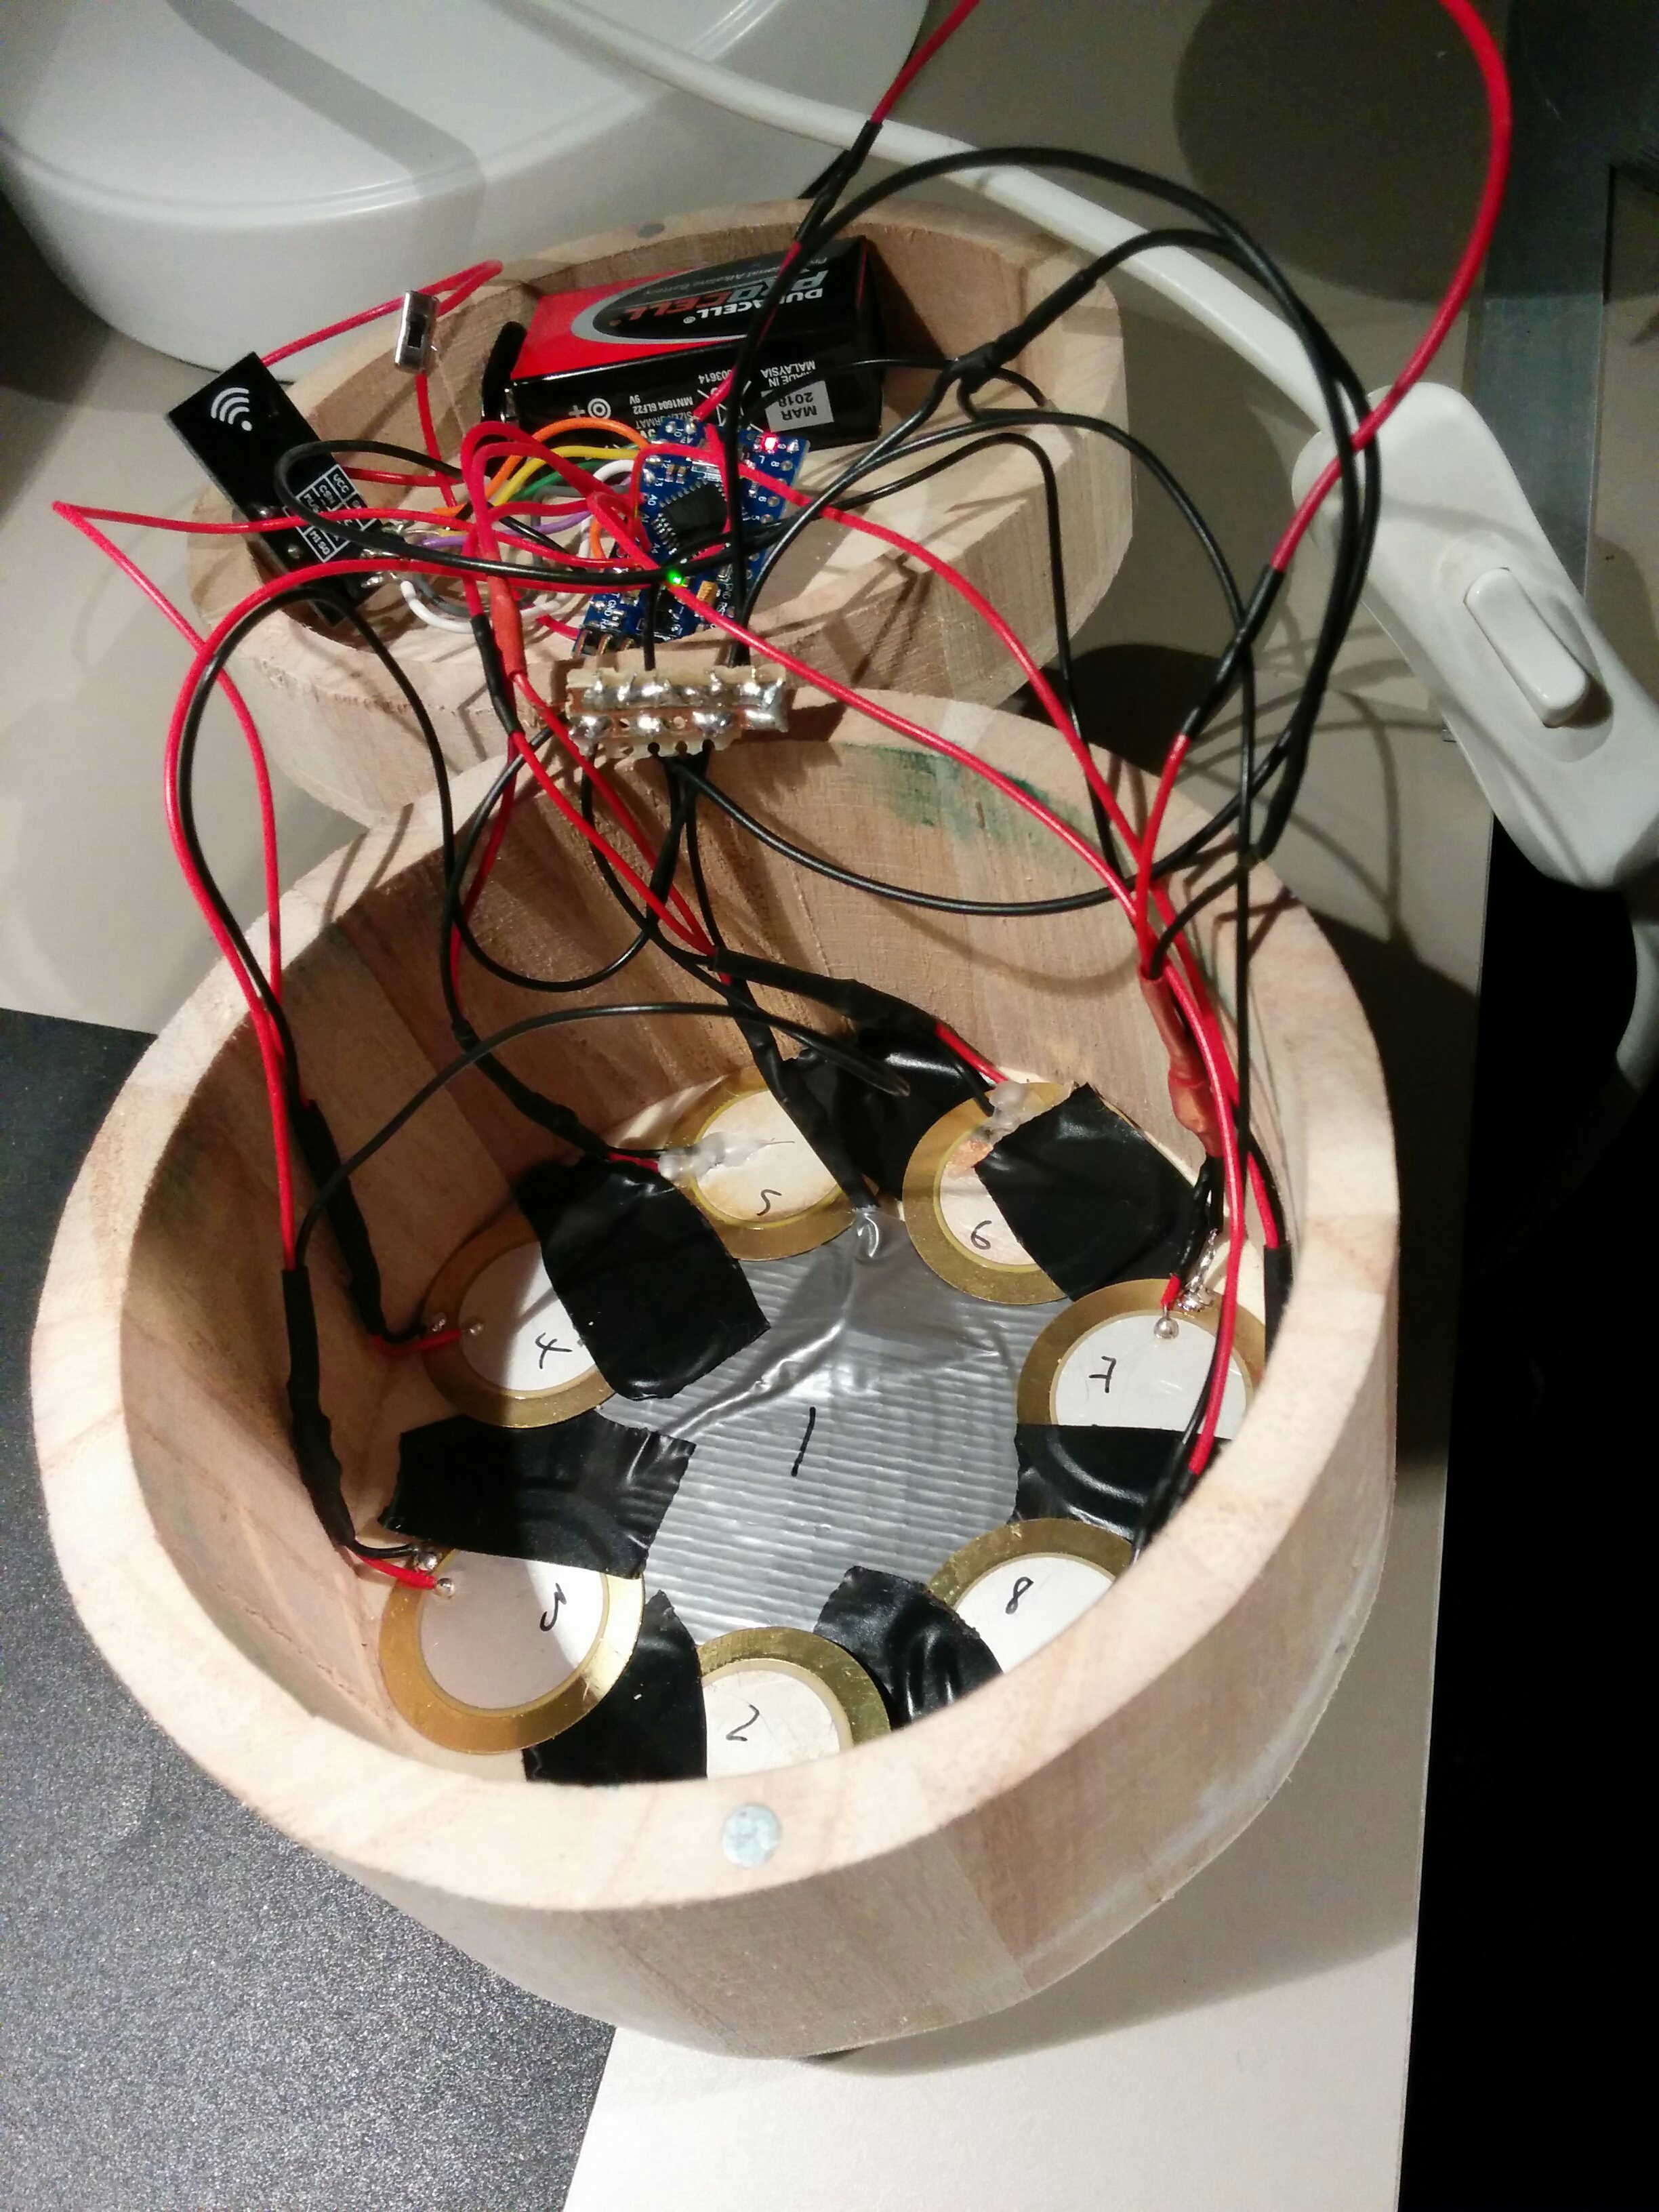
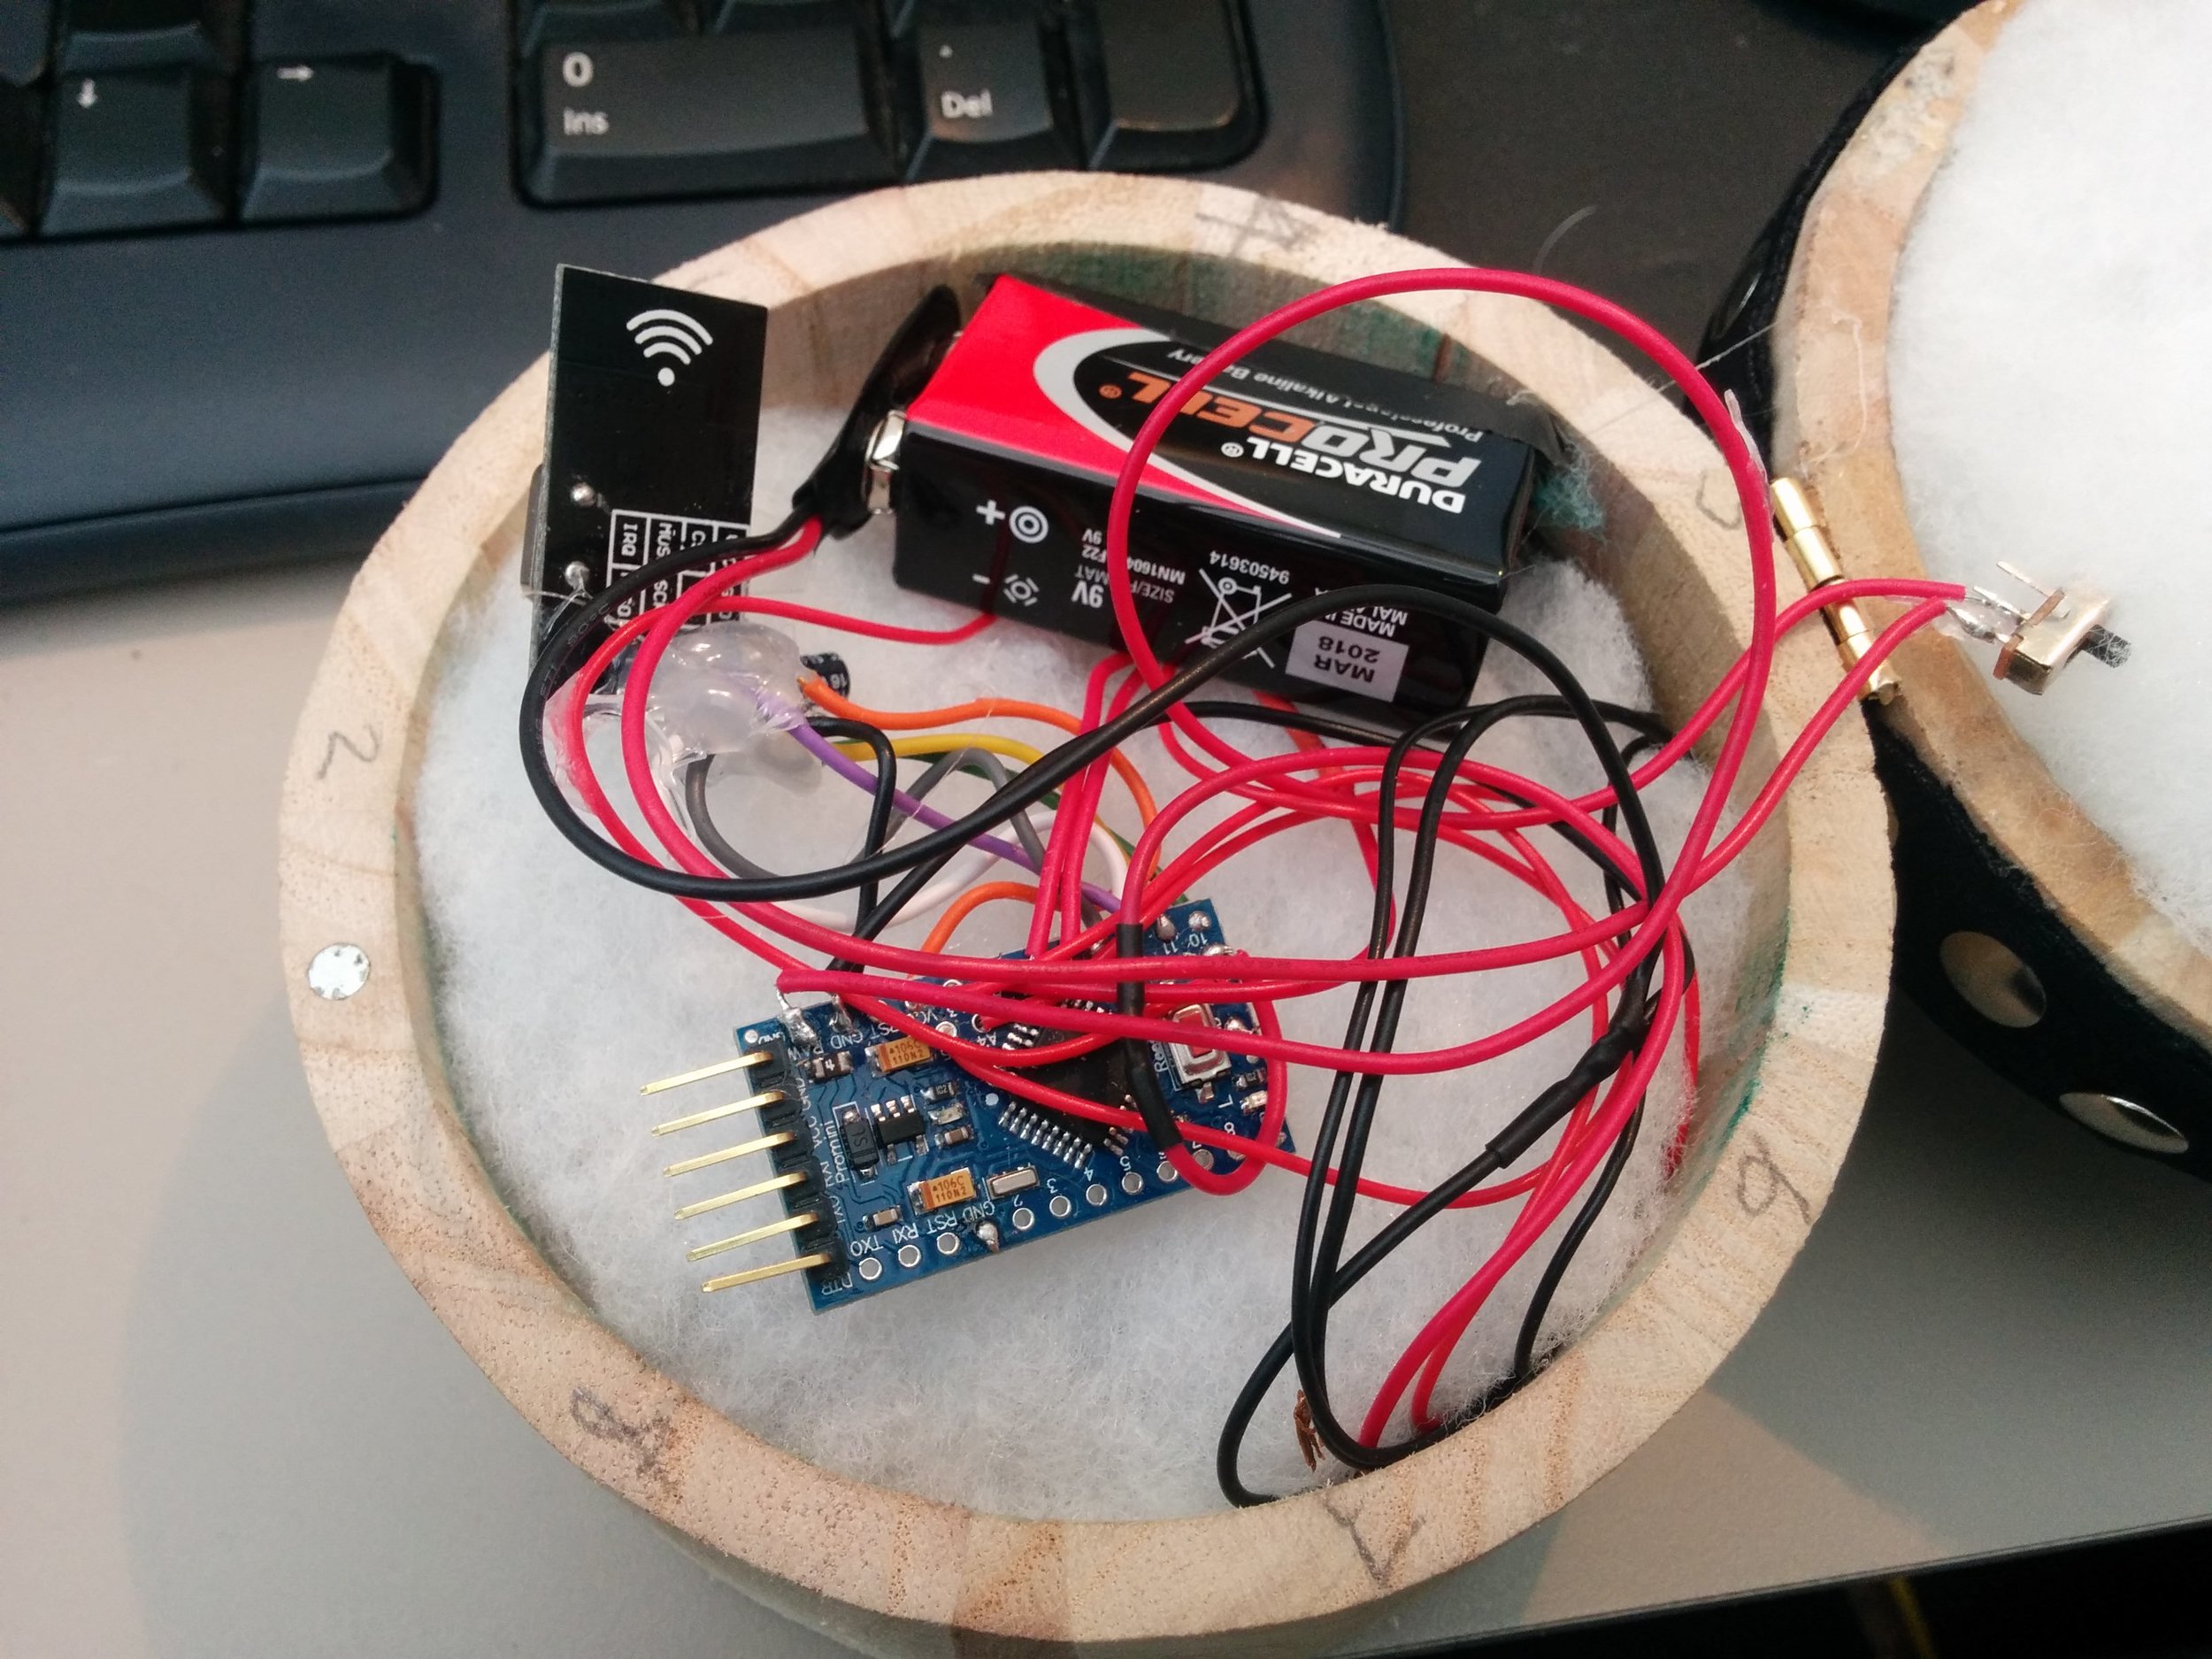
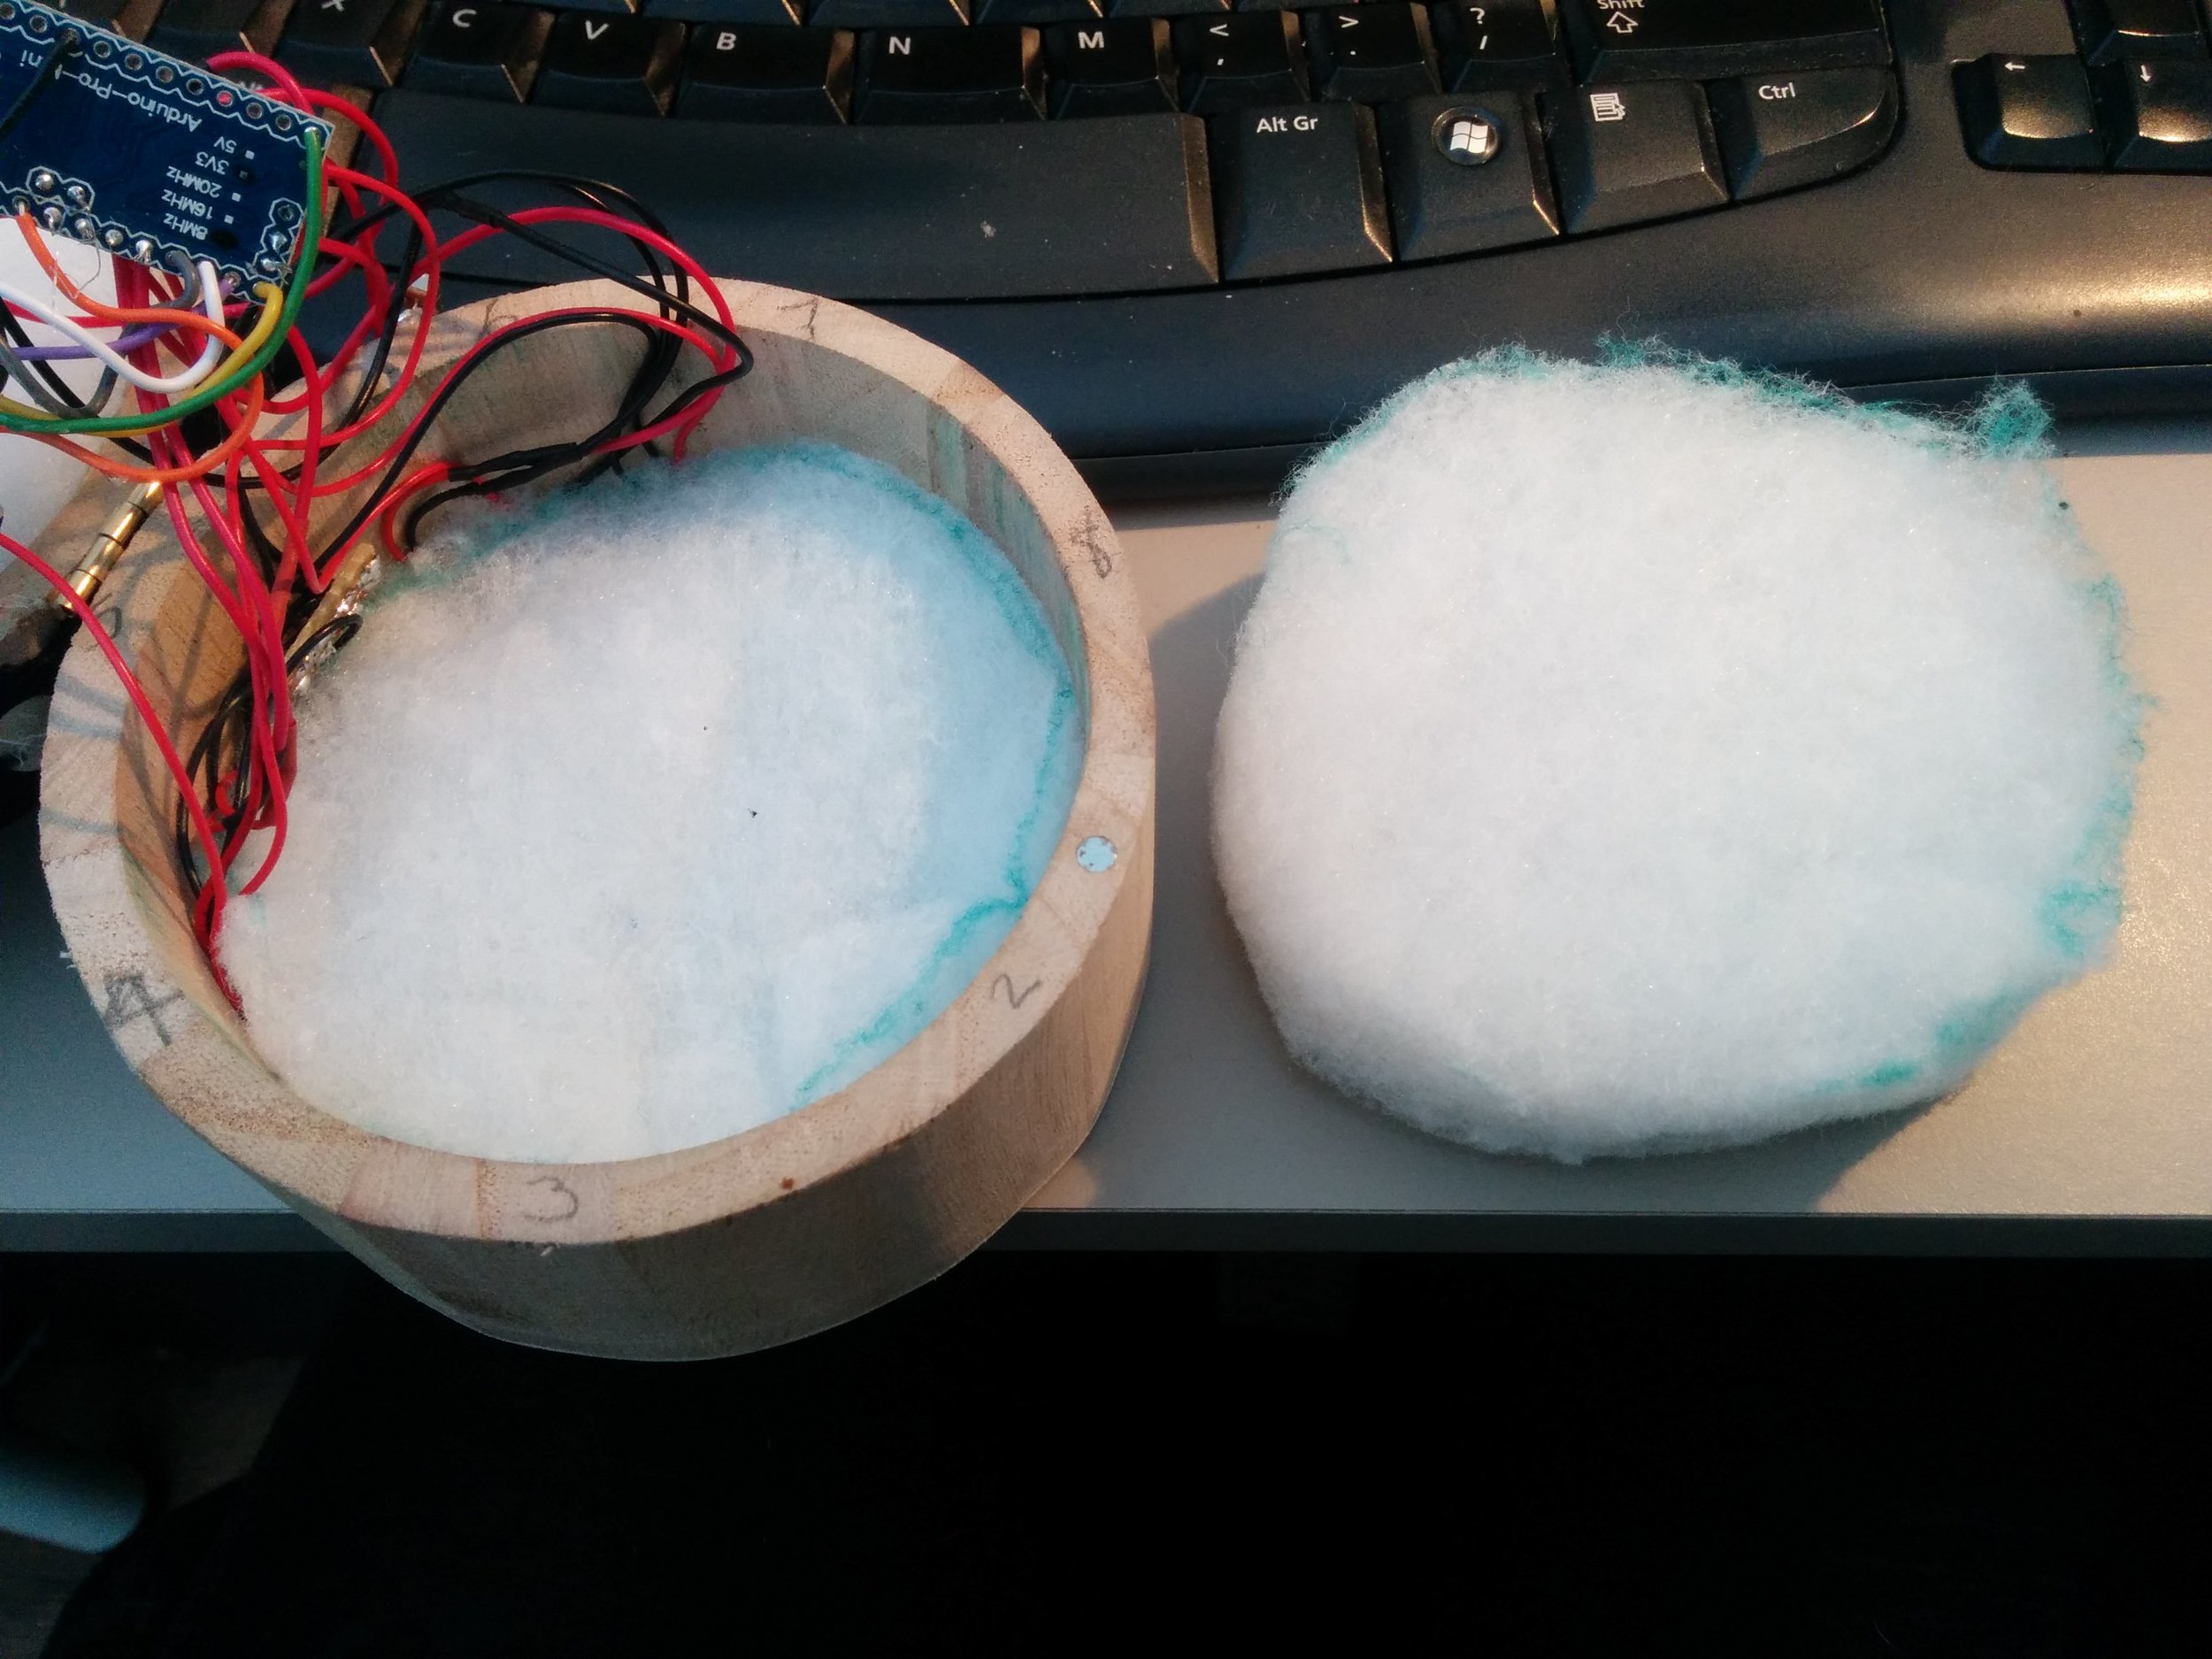
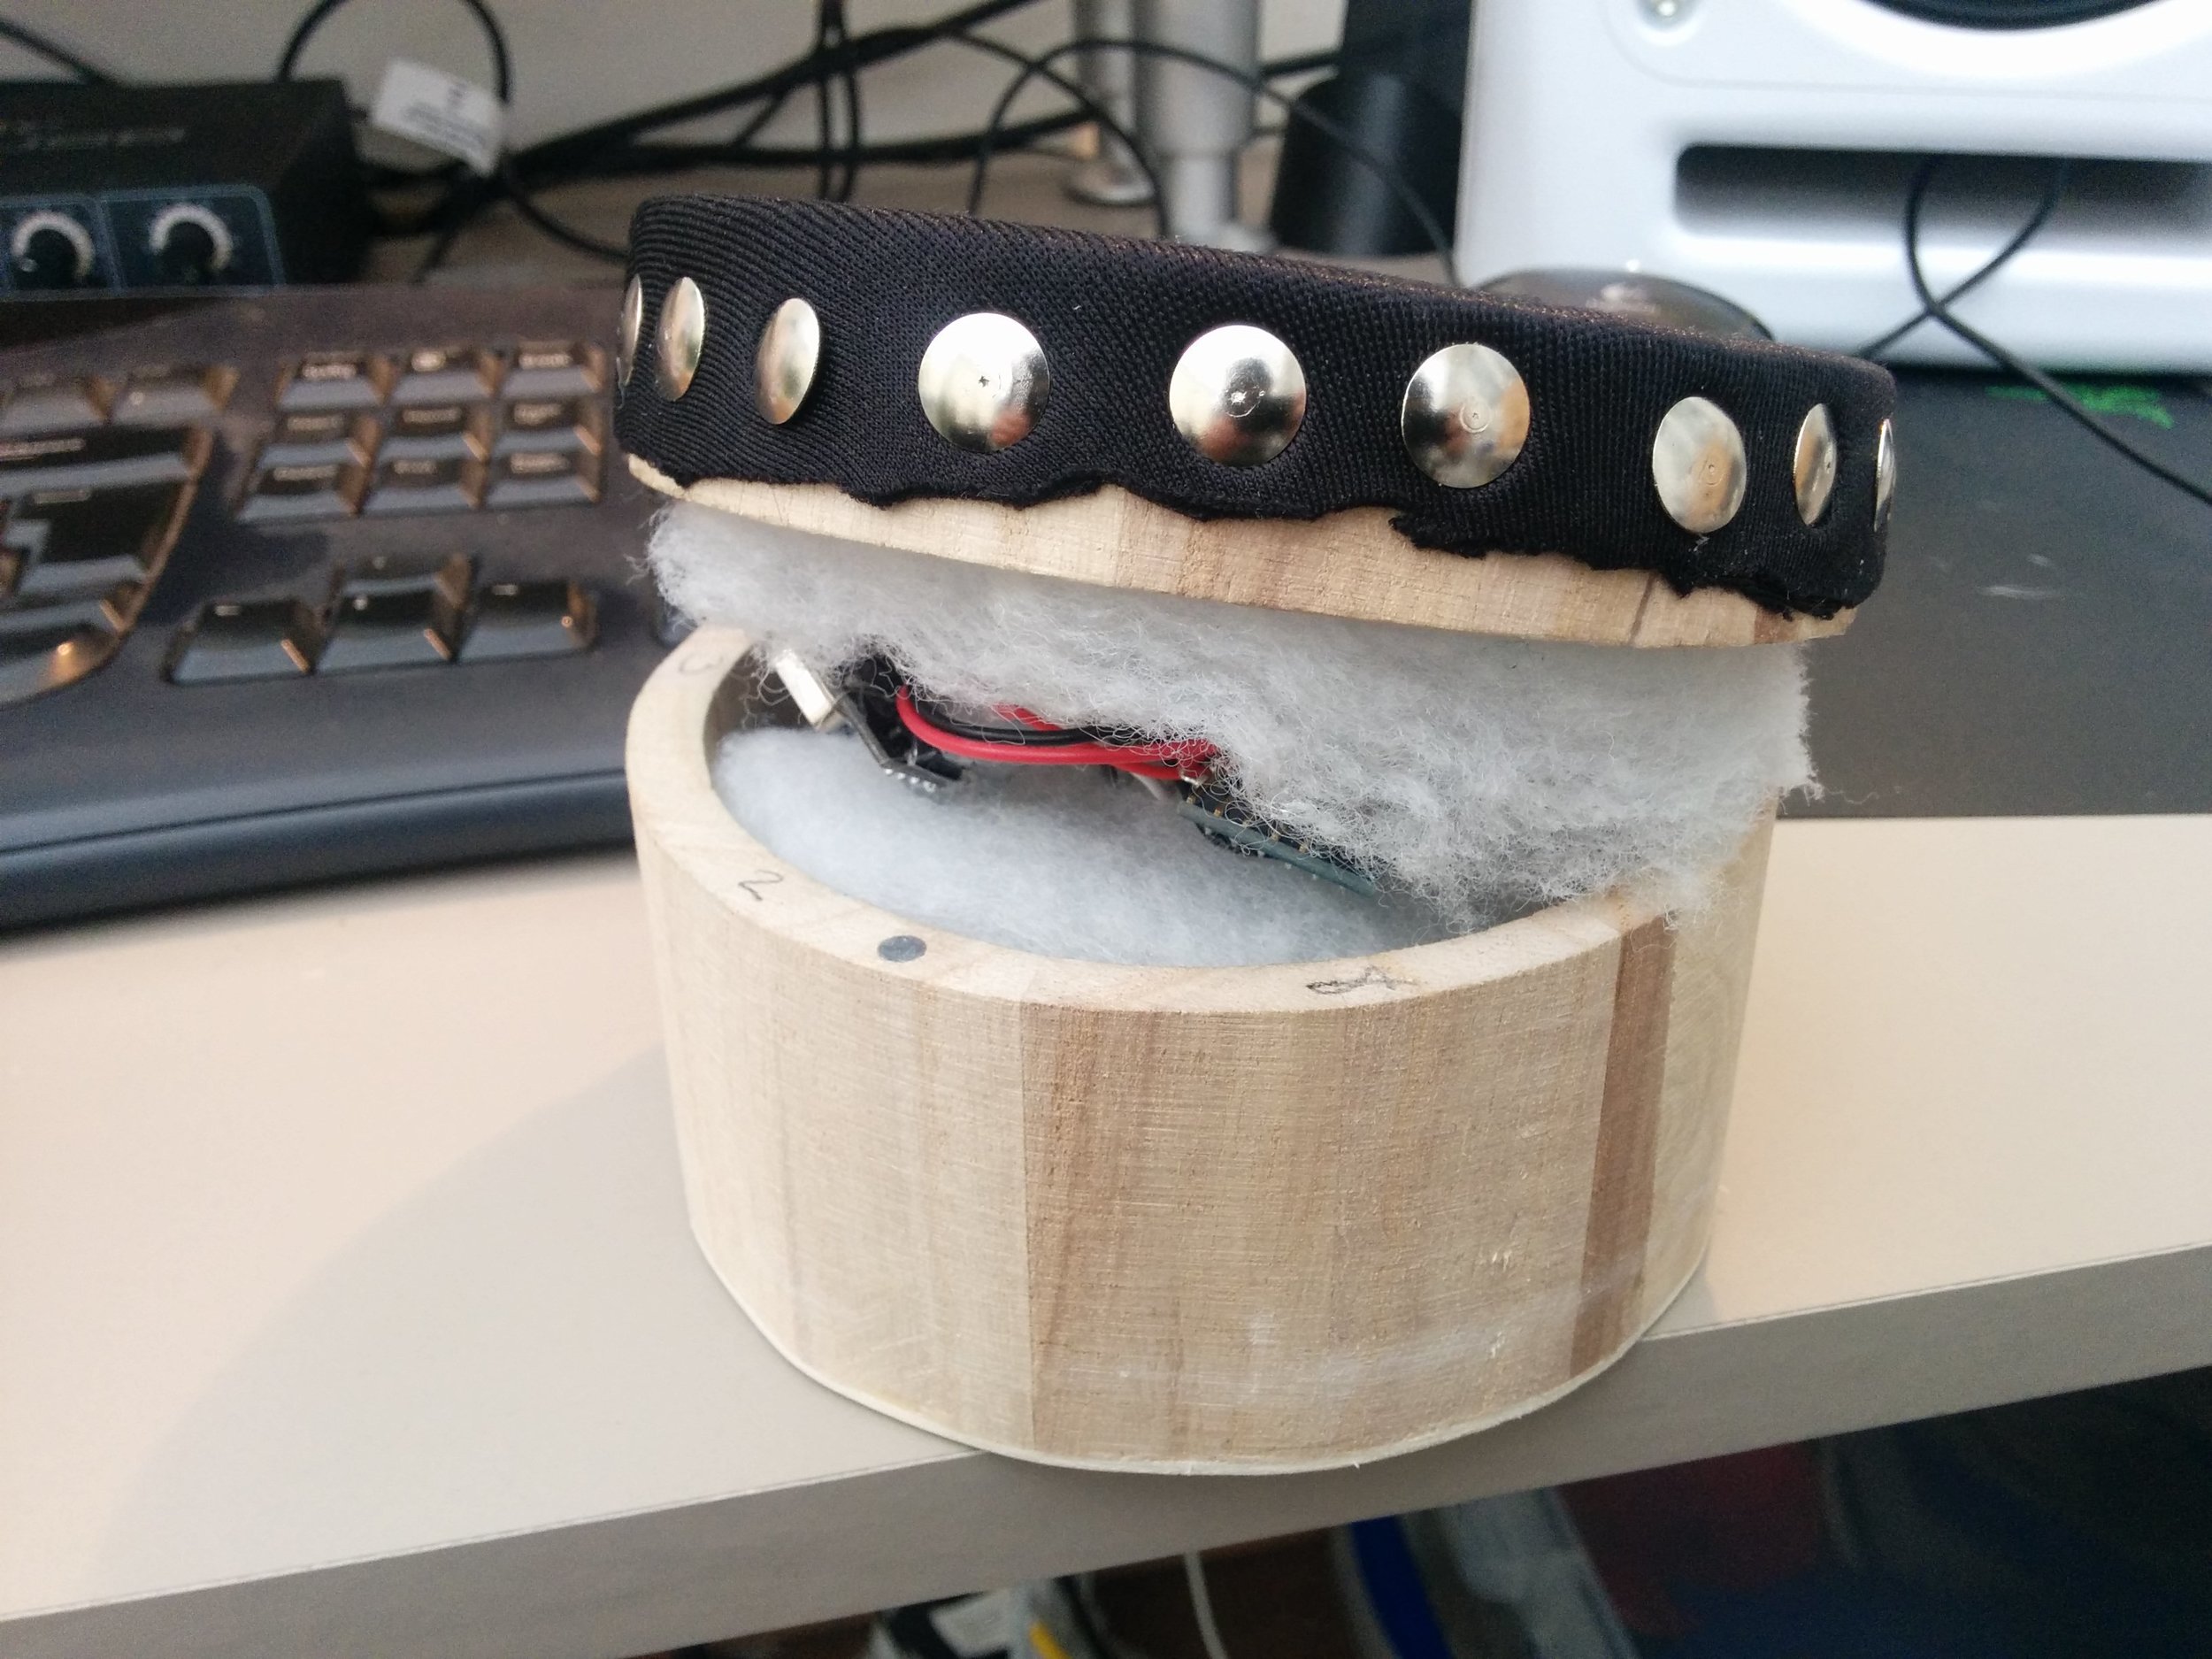
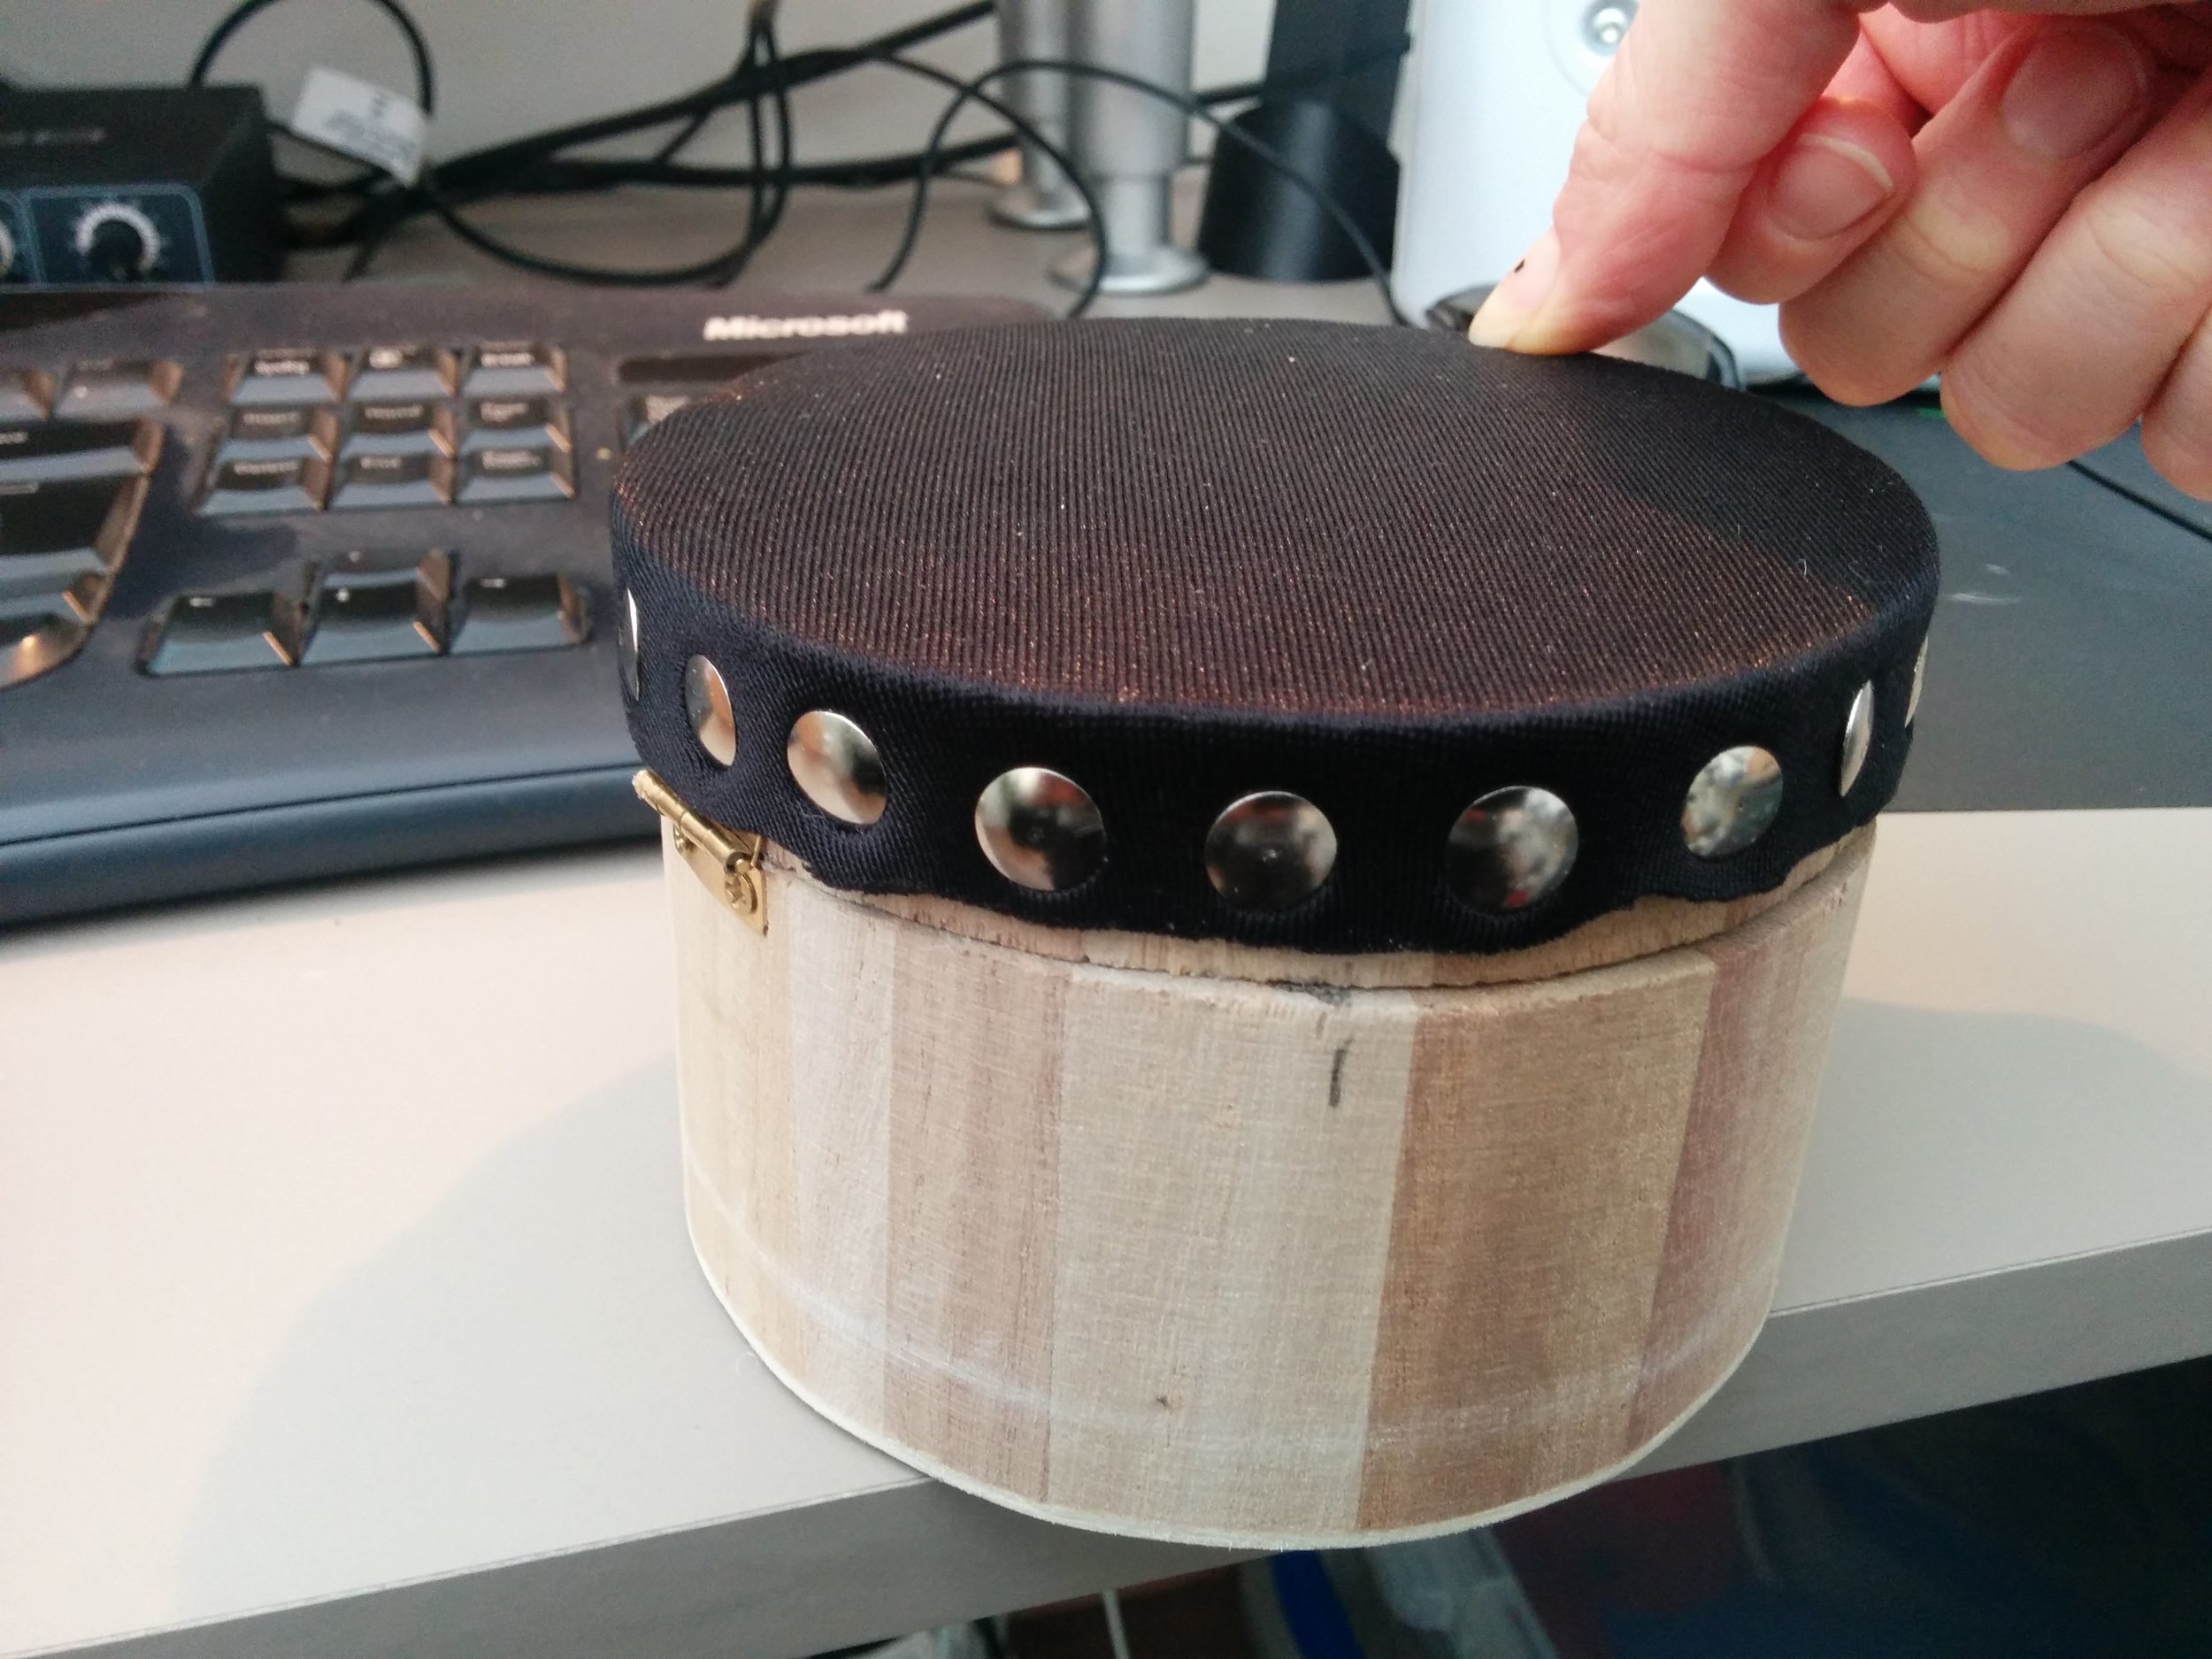
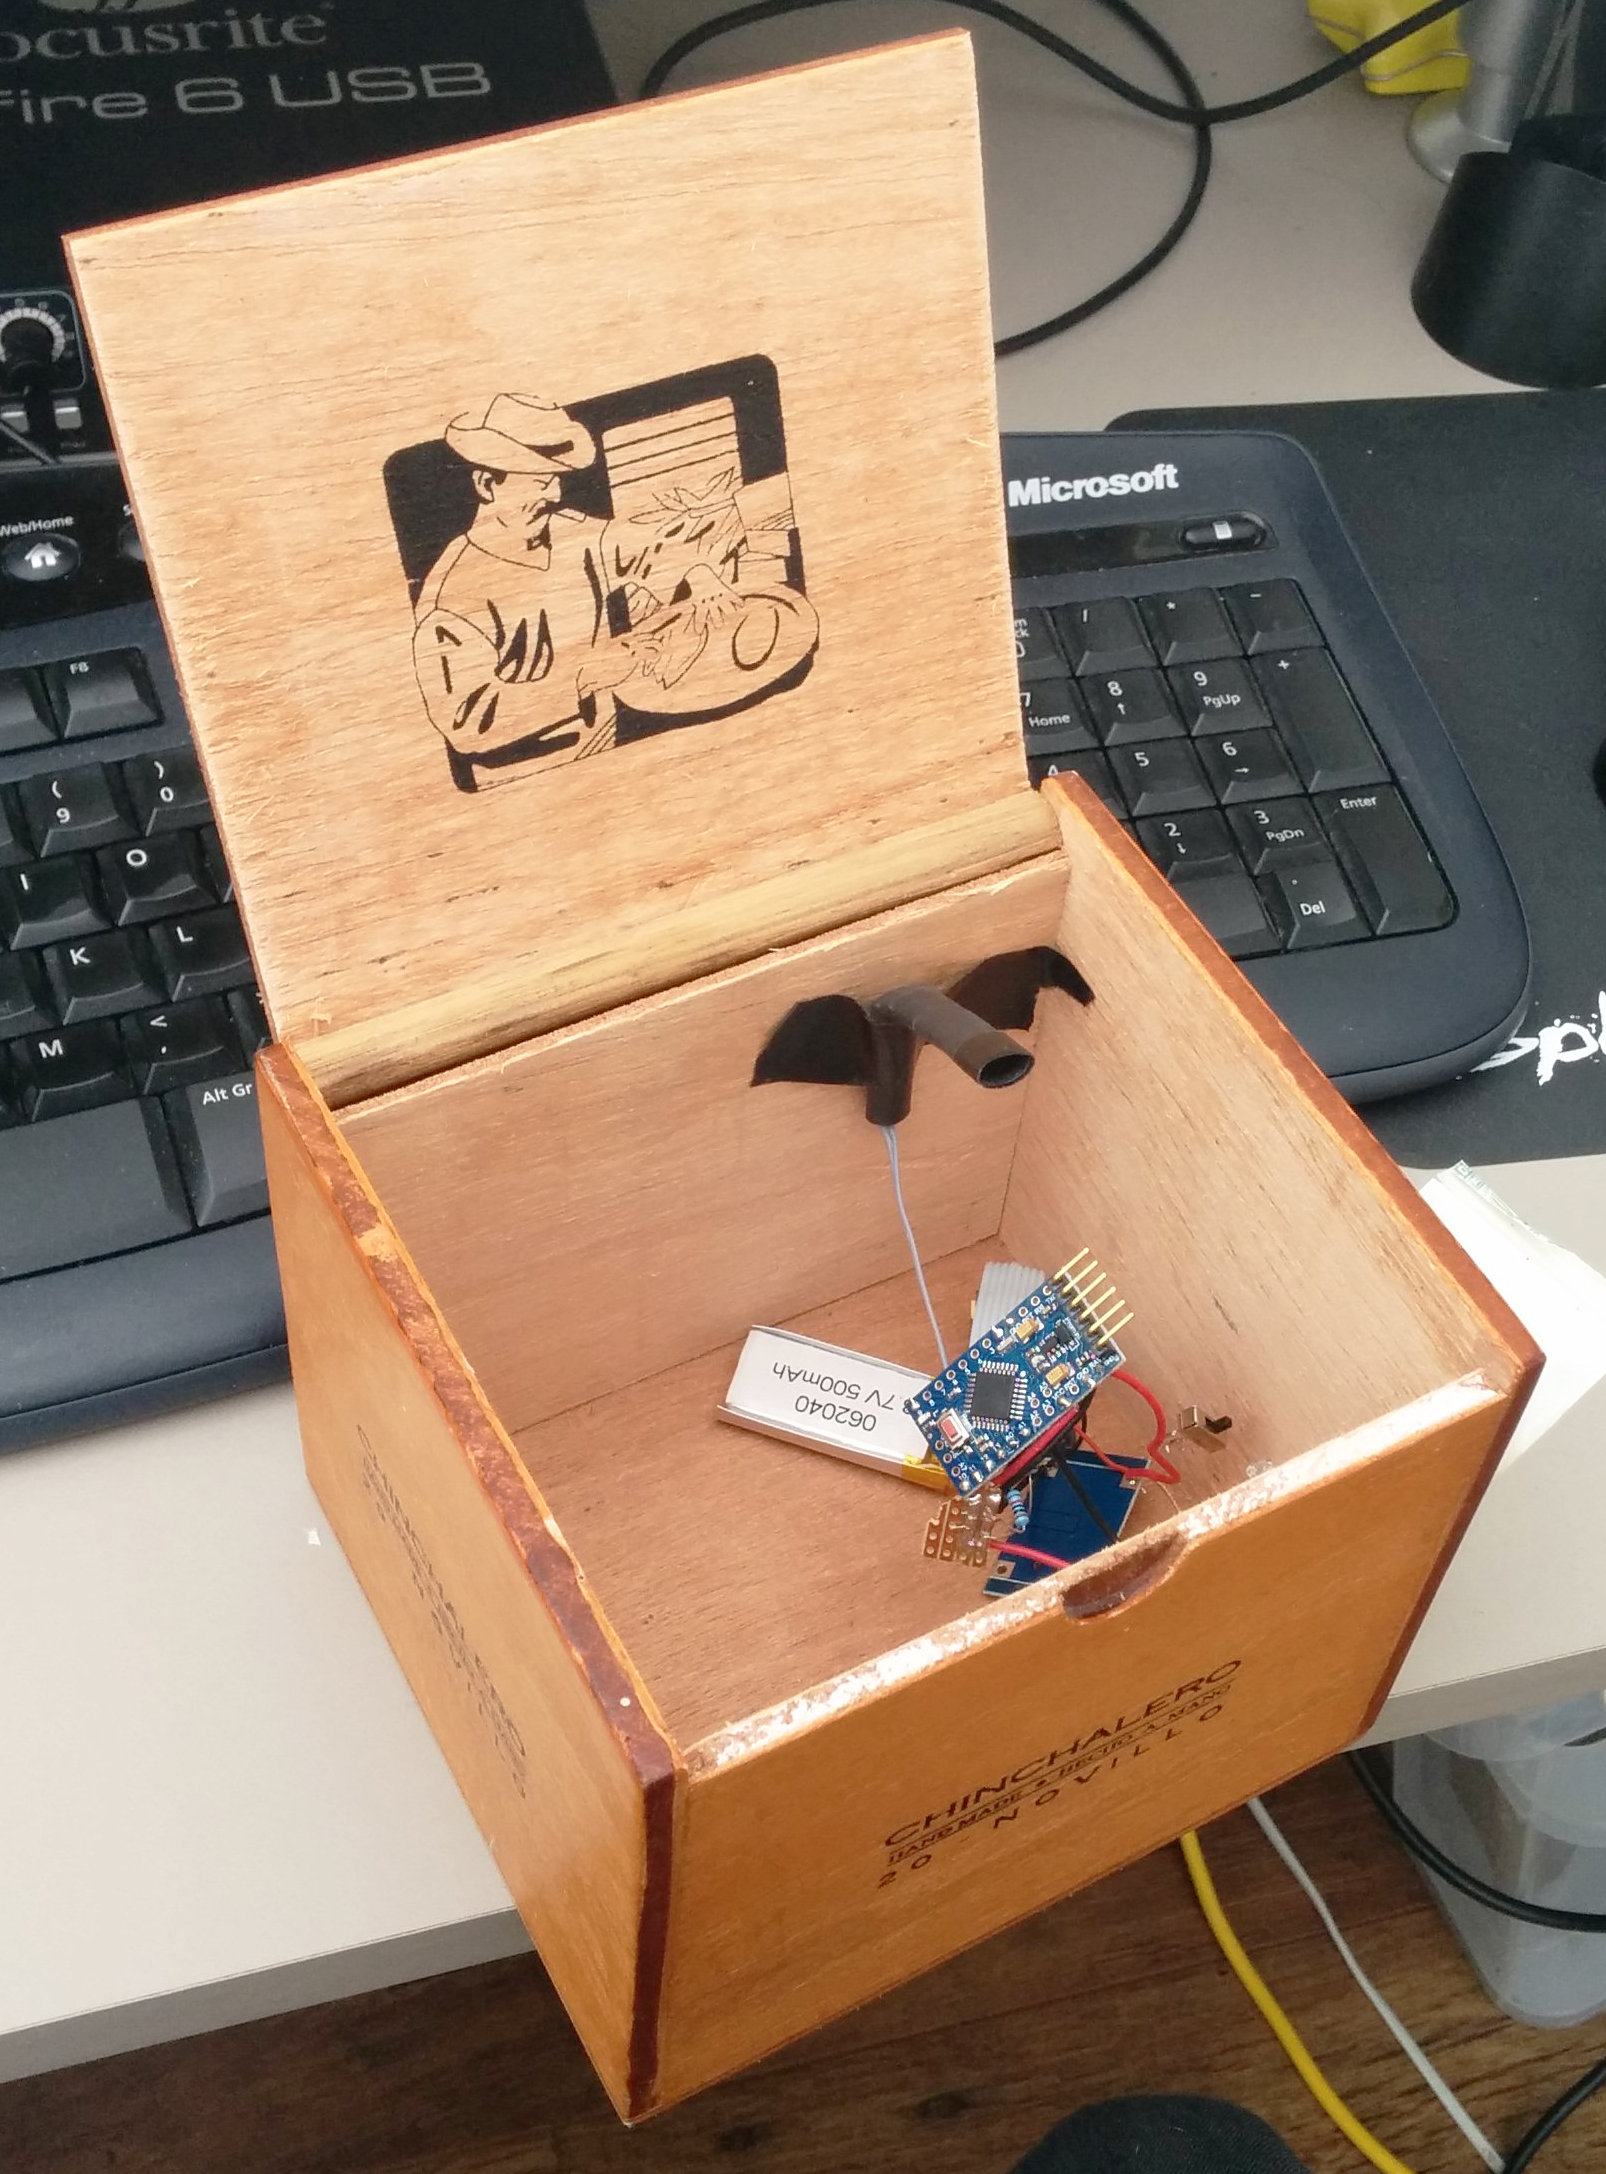
 So... with all this in mind we have started developing MAMI, Modular Accessible Musical Instrument. This is kind of a mammoth undertaking in catering for any kind of input, various outputs and making it extremely flexible and routable so we will ultimately focus on our own immediate usage requirements, but with a view to making something that can be built upon long term. At the point of writing I have built a system with which you can dynamically create devices and assign input receivers within those devices, I have focussed on Human Interface (joysticks, keyboards, games controllers etc) devices so far and am moving on to Serial input. I am viewing every controller as having combinations of analogue (sliders, knobs, joysticks, pressure sensors etc) and digital (buttons, keys etc).

Needless to say, it will be a while before a first release ! 

Designing electronic instruments - 5

Following on from post 123, and 4 on this project.

We met on Monday to take a look at the few modifications to the Filter Box and to see if they improved how the instrument felt and worked in the hand, we also looked at the Pressure Box.

Filter Box

A couple of the things we changed were:

  • Moving the force sensitive resistor (FSR) to the left which meant that it sits under the hand better and enables a natural pressure to always be present
  • Moving the light dependent resistor (LDR) to the back middle where the box hinges, at the bottom of a drilled out hole, so that the box has to be opened fully to trigger the sensor and it is not as sensitive to ambient light changes

We had a play about and made the following points:

  • FSR for now in much better position as is accessed automatically by hand when squeezing and can be used by finger too.
  • LDR in better position drilled down the back to give more uniform reading in changeable light scenarios- might also work to use a led strip so the whole thing is self contained- a nice feature is that moving towards the light can be used as a tool to give expression
  • might be nice to extent the functionality with an accelerometer so that physically shaking the box could be connected to audio parameters, there would be a lot of data to play with!
  • buttons still a bit dodgy- one is more flush to the box than the other so the desire is to overcompensate and push in the other one really hard. Will try the new bigger arcade style buttons, they are more rigid but have an easier action and less resistance when the spring is removed

Pressure Box

We also took a look at the Pressure Box and ran it into Max to take a look at its responses:

  • Needed more foam and perhaps a layer of more solid foam
  • The piezos are fine with short sharp hits but do not respond to long pressure pushes which is not ideal. They do give a response from pressure after idling at 0 for a short time, but not until releasing them. Kind of the opposite to what we wanted to happen. This might mean that the piezo is not quite right depending on the type of instrument we want to design sonically for. A more percussive application could work well as the response to this action seems to fit with the action itself, however if we want to be able to press down slowly over time then another solution must be found!

We shall keep exploring and testing!

Designing electronic instruments - 4

Following on from post 1post 2, and post 3 on this project.

We met on Monday to take a look at the modifications to the Filter Box and give them a little test with the Max patch that Luke has been developing, and then I went away to make the modifications.

Filter box testing:

A couple of modification were discussed to make the box more ergonomic and natural to use and hold and that will allow for easier interaction with the inputs the box offers.

These were:

  • Move the hinge to the other side of the box to enable holding and opening like a book
  • Change the button style as they are not working quite right in fitting nicely to the finger or giving adequate feedback, maybe to tiny arcade style buttons that accommodate fingers with a dip, or custom made buttons attached to a micro switch
  • The pressure sensor is in an awkward position on the front making it difficult to use it with the buttons so move to back where the thumb pad of the hand naturally presses against it

We met again the following Monday to discuss the above modifications.

We found it was still difficult to access the force sensor and the buttons at the same time. Also to trigger the sound the button and force sensor have to be used at the same time so what might be better is to leave the sound level high until you press the force sensor which will then lower the volume, this would mean there would be less chance of a player pressing the buttons and thinking they were not playing it correctly or it was not working.

There is also an element here that could play into having to control and mould a sound with the instruments, Luke has mentioned in the past creating an instrument that you would have to fight against in order to play. This could be a good opportunity to explore a concept like that, to have the instrument playing and you use the inputs to bring the sound in order. 

We also discussed the possibility of the light dependent resistor being a little bit volatile in performance situations as there are potentially flashing lights or light changes that could trigger the instrument and disrupt the players sense of cause and effect. Also any photographs taken with flash could trigger the sensor. This will require testing to see how much of an issue this would be. One suggestion is to move the sensor down a well next to the back hinge of the box so the box will be less responsive until it is more fully open......a little more fiddling required :)

Designing electronic instruments - 3

Following on from post 1 and post 2 on this project.

On Monday we met to discuss the latest prototypes of the Filter Box and the Pressure Box.

Filter box:

We had selected the small oval box as the one most suitable for the Filter Box and I set to work adding 2 valve style buttons and 1 force sensitive resistor to go alongside the light dependent resistor already installed in the prototype. 

Parts added to existing prototype:

2 x Valve style buttons

1 x Force sensitive resistor (FSR)

Circuit:

A note on the resistors for the buttons; no resistors are needed on the buttons if you enable the inbuilt resistors in the Arduino, you can do this in the code uploaded to the board. We did not use resistors on the buttons and so the code below will mean that the buttons are considered to be high or on until pressed which will then turn the input to low or off. So these buttons send a 1 when not being pressed and a 0 when pressed.

The Code:

https://github.com/lwoodbury/AMI

Creating the Filter Box

The box required 2 more holes drilling to match the size of the valve fitting, these then had to be glued into place to secure. A small slit had to be drilled and filed to allow for the FSR to pass through.

Electrical tape and paper was used to ensure that none of the vital circuitry was touching each other as the box is quite a small space for all the components needed. The Filter Box was then ready for some testing!


The Pressure Box

We decided that the bigger rounder box would suit the Pressure Box and so we went about designing the gubbins that would make it work. At the moment whilst awaiting deliveries for lithium rechargeable batteries we have stuck with the good old 9v square battery which differs from what is seen in the circuit diagram. The Pressure box uses the same Arduino and radio combo as the Filter Box but we are will be using 8 piezos as analogue inputs instead, 1 large for the centre and 7 smaller for the outer ring. Piezos are very cheap and very sensitive so should give us good feedback as to where on the top of the box is being pressed.

The Circuit:

Here is a more simplified view of how each piezo is wired in:

A note about the circuit: The software used to draw up the circuit didn't have the exact same Arduino board as we are using so the green section to the left of the Arduino board is simulating the analogue inputs that are in different positions on the Arduino. The picture below shows more clearly the holes for the analogue inputs (A0-A7) A4 and A5 are the holes above A2 and A3.

Image from http://www.dominicdube.com/wp-content/uploads/ArduinoProMini000b.jpg

Image from http://www.dominicdube.com/wp-content/uploads/ArduinoProMini000b.jpg

Each of the piezos had to be prepped as they require a 1 MOhm resistor running between their 2 wires as seen in the circuit diagram. The resistor was installed at near the disc of the piezo and some heat shrink was used to seal everything in.

The piezos were then arranged around the bottom of the box with electrical tape to stop them touching. Two layers of thick but airy foam wadding were used to provide the bouncy resistance needed.  The components were stashed between the two layers. Once the correct battery has arrived these components should sit nicely over the middle piezo. 

Attention then turned to the lid. We decided it would be best to cut out a hole in the lid thus having a ring of wood on which to attach the skin (tambourine style) and then pin it on the edges with thumb tacks. This would also allow us to put clasps on the side of the lid to attach to the box so as to provide access to the components if needed without removing the skin.  

We took to the CNC router to nicely remove the inner lid before adding the skin made from a thick piece of lycra like material folded double.

Testing will be done with these prototypes to see what the next steps are........

Designing electronic instruments - 2

Following on from this post.

On Monday we met to discuss the first prototypes of the two instruments we wanted to explore as detailed in the previous post. 

The Filter Box

We took a look at the first Filter Box prototype as seen in the pictures below which was set-up in a temporary box for testing of the sensors. I bought several small wooden boxes to try for size, shape, and general ergonomic-ness when holding, and to enable discussions as to what might be good features and functionality to have in the box. 

Our idea was to create a wireless filter box. I wanted to use some of the nrf240l1 radio modules I have acquired as they provide a very cheap mechanism for wireless communication, and there are lots resources available to make them work with Arduino. A detailed tutorial on using Arduino + Nrf24l01 running into Max/MSP software can be found on my website here

Discussing the box!

We discussed:

The wooden boxes I had purchased and selected a small oval shaped one as the best shape and size to fit in the hand. 

Buttons- having some (x2) to enable more functionality- options included click buttons that would provide tactile feedback when depressed or valve style that would more naturally mimic an interaction with an instrument such as a trumpet, like a valve, these would give feedback not as obviously as a click but more suited the instrument paradigm. 

Adding a force sensitive resistor (FSR) that could then be pressed harder or softer to achieve some of the effects you would with other instruments such as when fretting a guitar, and allow expression through fingertip movement and pressure of the hand on the box. The mapping of the FSR could then be naturally connected to something like the amplitude of the sound so when pressed harder the sound would be louder, again going with what a player might naturally expect from an interaction of that style. 

Light dependent resistor (LDR) this worked well as a mechanism to control some sort of filter, or for example the mute of a trumpet, the cutoff frequency of the sound or the volume. This is taking the movement of the opening and connecting it to any kind of parameter that might need fine movement and can be used to get effects like vibrato and tremolo. A parallel can also be drawn between something like scratching (dj style) by opening and closing the lid, and when connected to a filter controlling some element of feedback, using noise as the sound generator. We had a little play with using the light dependent resistor to control the cutoff frequency on a filter over sounds and using the motion to trigger MIDI notes but felt that the latter did not really play into the strengths of the opening and closing of the box as much as the controlling of an effect. 

The aim with the filter box was to create something that when held in a natural position would allow access to the 2 buttons and the FSR as well as facilitating the opening and closing of the lid so that the elements could be used in conjunction with each other and separately in an ergonomic way. 

The Pressure Box

We discussed the pressure box and using an array of piezos arranged around the bottom of the circular wooden box to create 8 potential pressure points. The Arduino pro mini we are using in the instruments allows for 8 analogue inputs so would suit this set-up. The box can then be filled with foam and topped with a soft tactile yet spongy material such as neoprene, or potentially some sort of skin stretched over the top in the style of a tambourine and secured down with pins. Being that the piezos are very sensitive to vibration there may be some cross talk between the 8 units but this could provide useful for expression. The sensitivity of the piezos allows for tapping the box to trigger or modulate the sound also. 

Future boxes

The hexagonal box though not used yet could potentially feature a new mode of interaction for each of its faces to allow a player to choose their preferred interaction mode and mechanism, this may be one for future exploration.

Next Steps

I will now review what we have discussed and implement them into some more prototypes! 

Designing electronic instruments

At Dotlib we are always looking for new and interesting ways to interact with sound. We have been developing some ideas for new instruments for the electronic orchestra at Threeways School that allow people to play with sound whilst following a few design rules, what we want is:

  • A focus on natural interaction, i.e. form affirms function and in this vein we talked about the opening and closing of a box to control a filter
  • Instruments that do not involve pressing on flat glass like a tablet screen, we want something more tangible
  • Preferably some local feedback in the form of vibration
  • Objects that are nice to hold and feel, perhaps finished in wood with a nice varnish like a traditional stringed instrument
  • As we need to focus on accessibility we need to consider not depending on finger dexterity
  • We want to provide an instrument that really offers a chance for the player to express them self
  • We need to tread the line with offering the user control over the creative process, whilst enabling the orchestra as a whole to play cohesively - the real challenge!  

We have been looking at a couple of initial ideas for development in terms of the outer casing of the instruments and the inner gubbins that make it work. They are the ‘filter box’ and the ‘pressure box’.


Filter Box

 A box that can sense how much it is open and link to a filter in an electronic instrument. 

A nice wooden box with a hinged lid that operates very smoothly. We have been looking at what type of box might be suitable and hinges that are robust and pleasing to open, and also what kind of sensor components would give the right kind of response. Thoughts so far include:

  • LDR (light dependent resistor) on the inside so that as the lid is opened, the amount of light hitting the sensor changes the filter, this is a affordable option as this component is cheap to purchase but the problem comes when trying to calibrate the sensor as ambient light levels can change  during a performance and in different environments. 
  • Flex sensor against the inside of the lid so that as the lid is closed the flex sensor is compressed. Flex sensors cost around £7 each so not as affordable as the LDR but does not have to be calibrated as they should always give the same reading. Homemade flex sensors can be made extremely cheaply as seen in this instructable, we have some ready made from a previous project that we will trial in this instrument which follow a similar set-up but use anti-static foam at the centre.
  • Stretch sensor attached between the bottom and the lid of the box, this would give readings when stretched open and could be used as a nice string to pull the lid closed to give tactile feedback. 
  • Magnet on the lid and hall effect sensor inside so that as the magnet moves away the sensor returns to the base value. 

We will have to do some small prototypes to figure out the cheapest and best way to create this box!


Pressure Box

A deformable surface, think tambourine but with a stretchy skin that can then be pushed into to create or manipulate sound. There are a couple of places the inspiration for this has come from, the first is the pads on the Alphasphere and the second is the Firewall. We are still looking to have the wooden outer to hold but perhaps in a circular shape. Options for the sensor include:

  • Electronic force sensor
  • Air pressure sensor (this would require a sealed box)
  • Cheap DIY force sensor
  • Distance sensor placed underneath the skin

We will be developing and testing from these initial ideas and will connect those blog posts related to that to here so you can keep up to date with the progress on these new instruments for musical expression!