Paper Electronics for absolute beginners!
Before we get started on making, lets have a look at some of the materials and techniques we will be using.
Materials
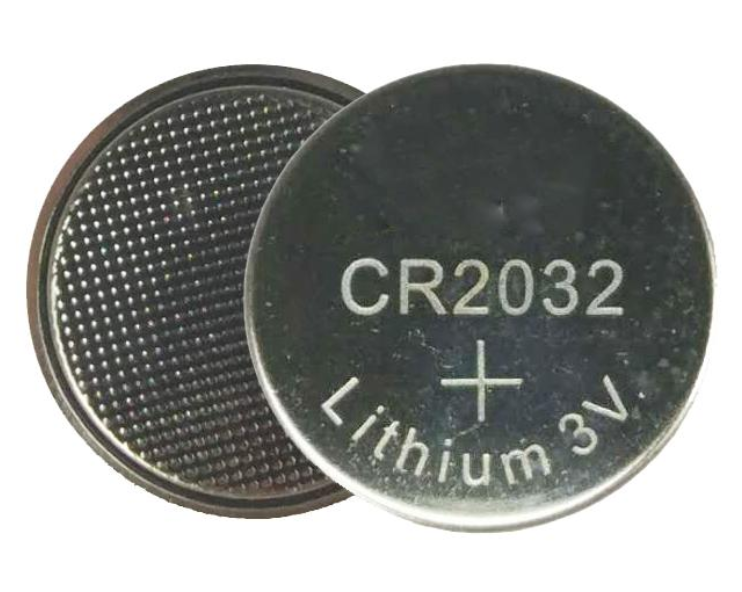
3V coin cell battery
Most coin cell batteries are 1.5V, we are using a CR2032 battery which is 3V. These guys have enough volts in them to power an exotic LED like a blue one or even some of the flashing/ colour cycling ones (just about!). The top is marked as positive with a ‘+’ symbol and we need to make sure we normally work with that facing up in the following designs.

LEDs
There are all sorts of LEDs, 5mm, 3mm and surface mount to name a few. We are going to focus on 3mm as they are small, but not too small to make things tricky.
Polarity - LEDs care which way around you connect them! You will notice one leg is shorter than the other and if you look or feel closely you will notice the base edge of the LED is also flattened on this side, this is how you tell the negative side which needs to be connected to the ‘-’ minus symbol in the following designs.
If you feel up to it and your design relies on being as flat as possible, we have some surface mount LEDs and some tweezers! If you want to purchase some, I would recommend the ‘3528’ size package, anything smaller is very hard to work with.

Copper Tape
Copper is a great conductor and we are going to use it in adhesive tape form to create our circuit. There are all sorts of differing widths available, around 5mm is good for making circuit traces, and you can get the cheap stuff sold as slug repellent, or more pricey stuff backed with conductive adhesive. If you are using stuff without conductive adhesive then you can’t cut strips and stick them together, instead you must use folds to get it to the right place (more on that later). The stuff with conductive adhesive can be very useful to stick down components and makes it easier to cut and work with shorter lengths.
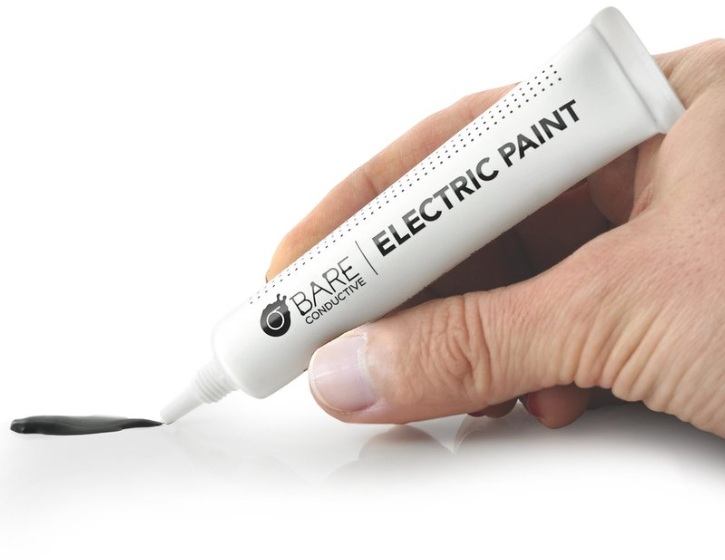
Conductive Paint
We are not using this in the workshop so much as it can be sticky, go everywhere, takes a while to dry and also cracks on folds unlike copper tape (for a while anyway!). The conductivity is not really evident until it is dry and it does have a fair bit of resistance to it so can cause some unpredictable results as it is like having a resistor in the circuit. However, it is useful to connect components to our copper tape if we don’t have conductive glue backed tape and can be used as part of the circuit to great effect. I have seen this stuff screen printed on wood to create touch sensitive panels to make musical instruments.
Techniques
Creating a circuit

First, we stick down the copper tape, either folding it in a continuous strip if it does not have a conductive glue backing (see below), or cutting pieces of the right size if it does.
Next, we can place our battery in the bottom corner of our card and make a fold to overlap it, you can stick the battery down with double sided tape if you are careful about not covering the connections, or you can just use a small fold back clip to hold it in place.

The LED can wobble about a bit if you don’t bend the legs into a base. I tend to bend the legs with little pliers into a zig zag or a spiral depending on my layout. We have conductive glue backed tape (the stuff on the green rim) so we can stick down the LED with it and make the circuit, but if you don’t you can fold the copper tape over the LED leg and tape it down securely with normal tape, or use conductive paint if you don’t mind waiting for it to dry. As the card flexes you have to be careful about making a good connection, conductive paint tends to crack over joints. It can help to rub the copper tape with a pencil or something all around the component and get it nice and tight.
Folding copper tape

To keep the strip continuous you need to fold it back at 90 degrees, making a 45 degree bend and then fold back down. Copper tape can be rubbed with something hard and smooth to make it nice and crinkle free and shiny if you like!
Paper Craft

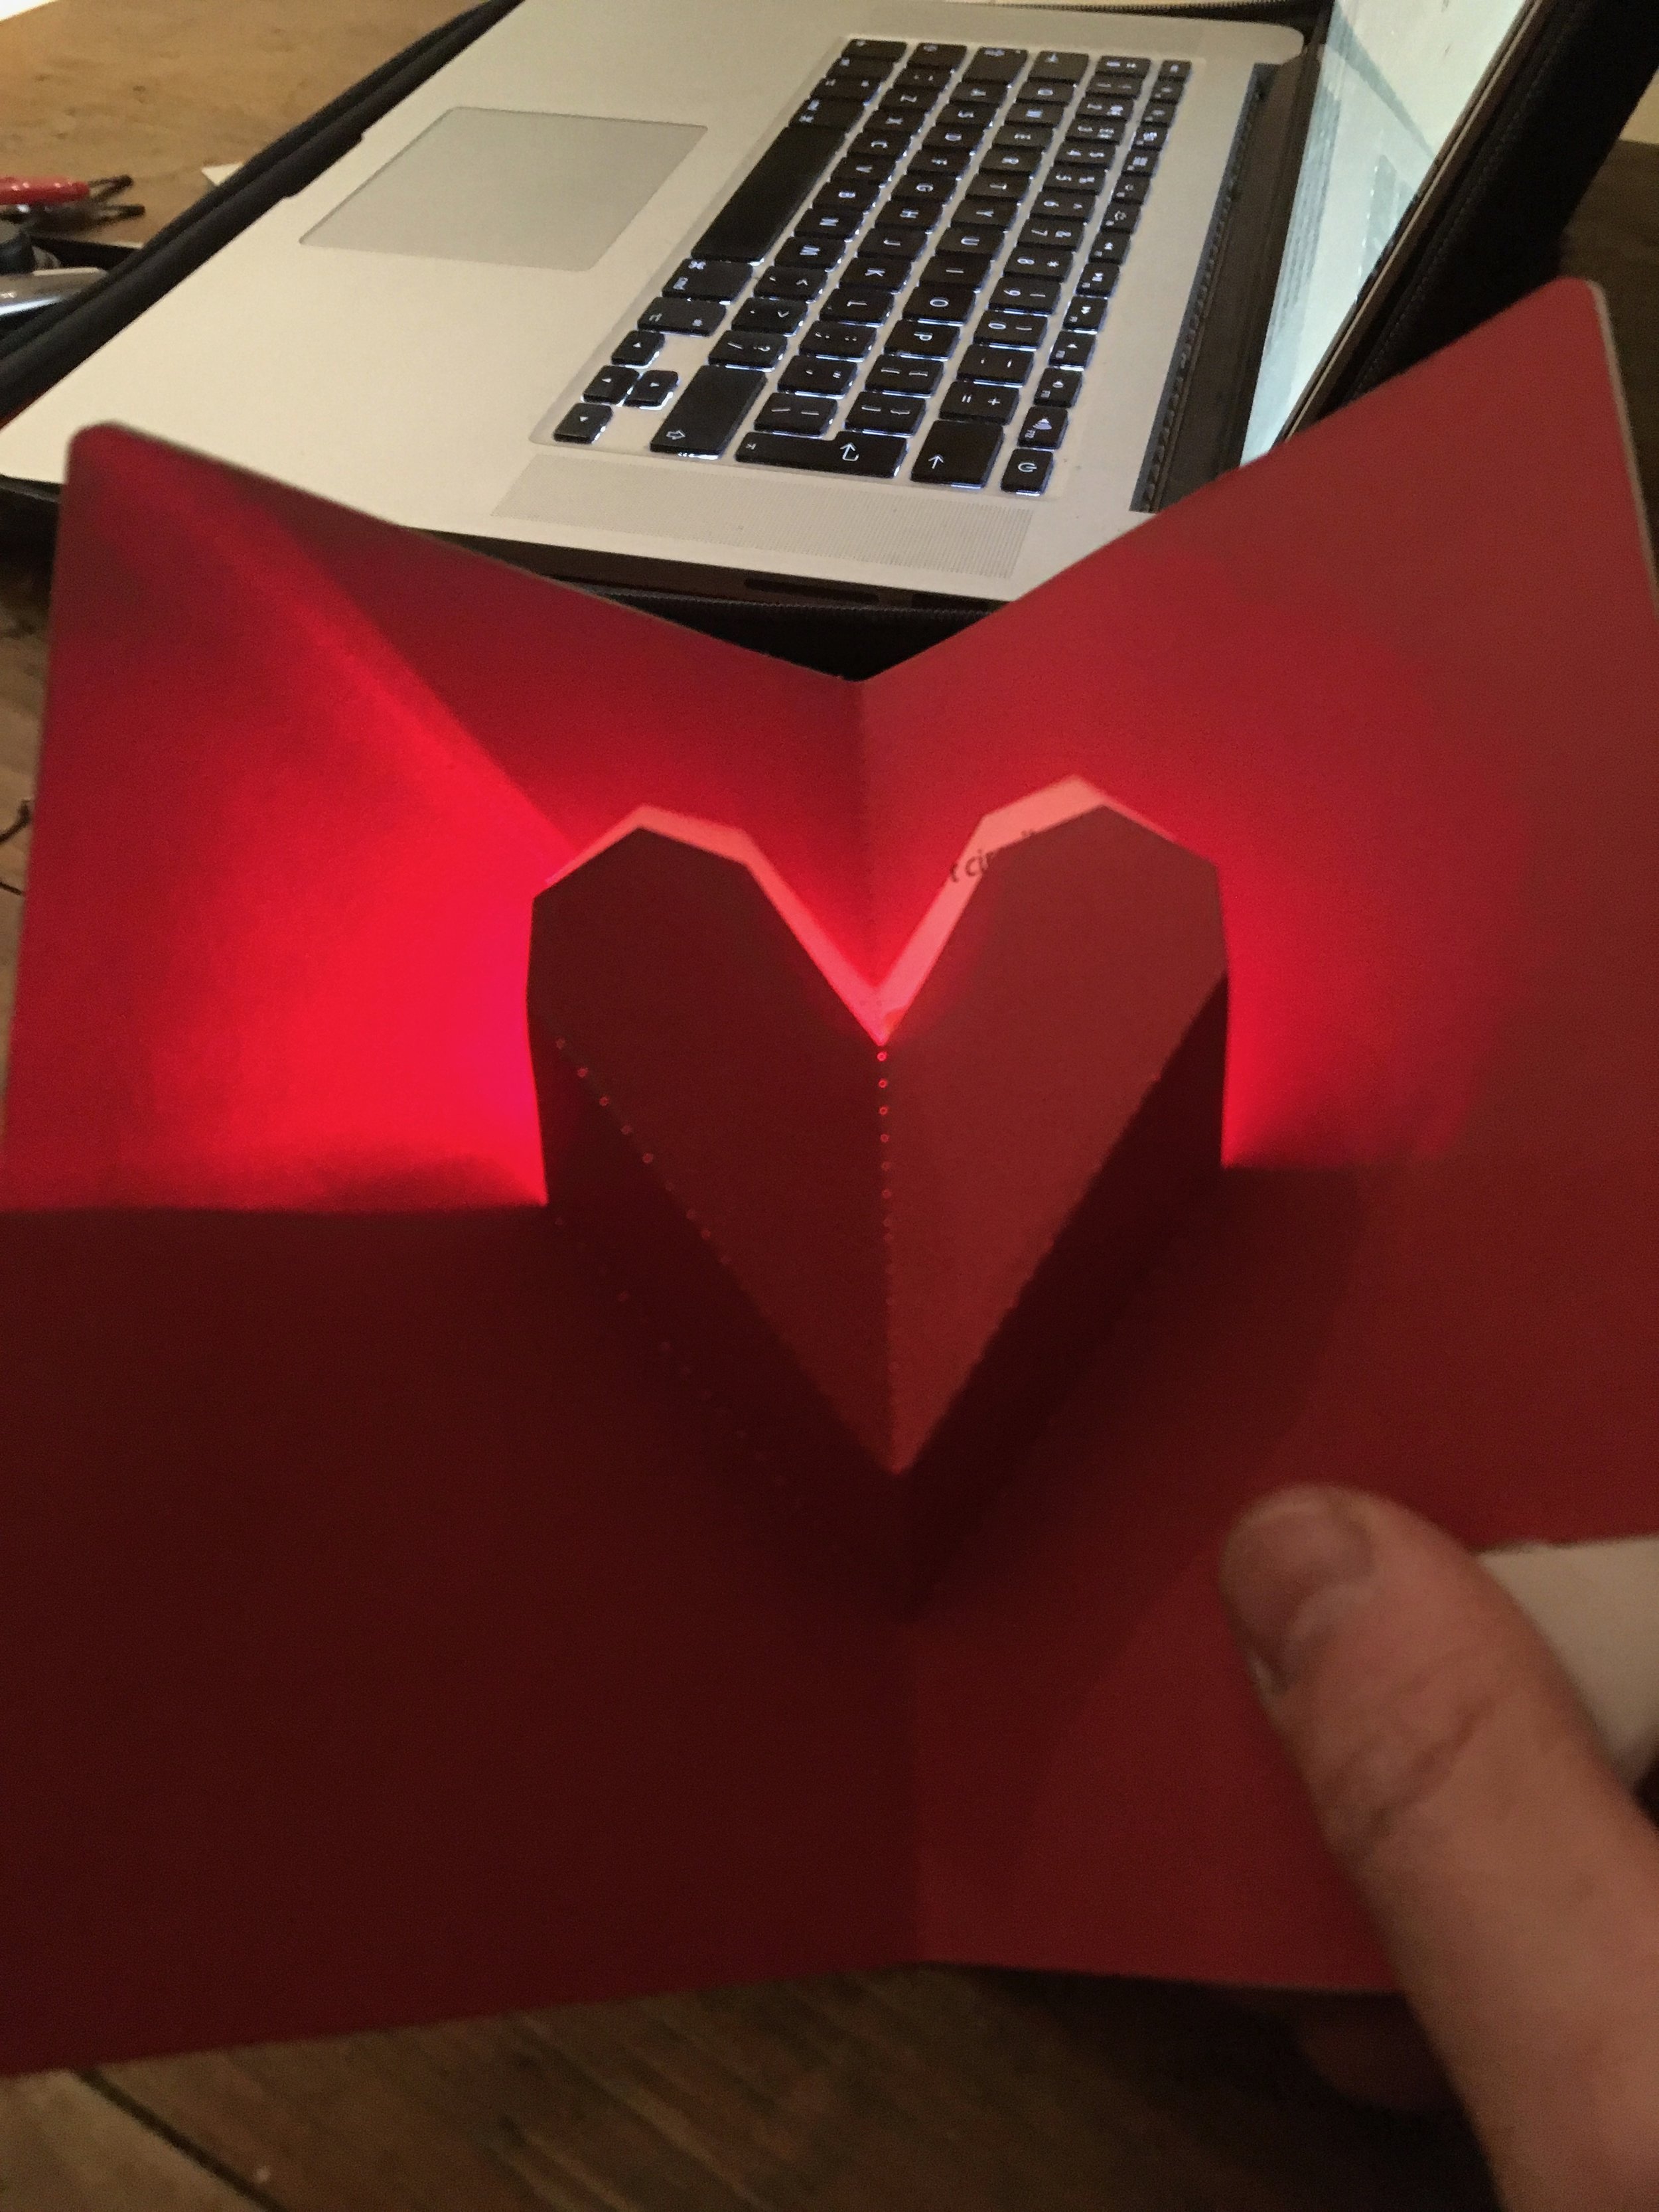
This design can be found on Popupology.co.uk
There are some amazing on-line resources for making pop-up paper craft and cards. I love the Popupology designs of which some are free, but they are fairly complicated and fiddly and it helps to have a lasercutter or some kind of paper cutting machine. Robert Sabuda has some simpler designs which are great for kids, as does Mathew Reinhart.
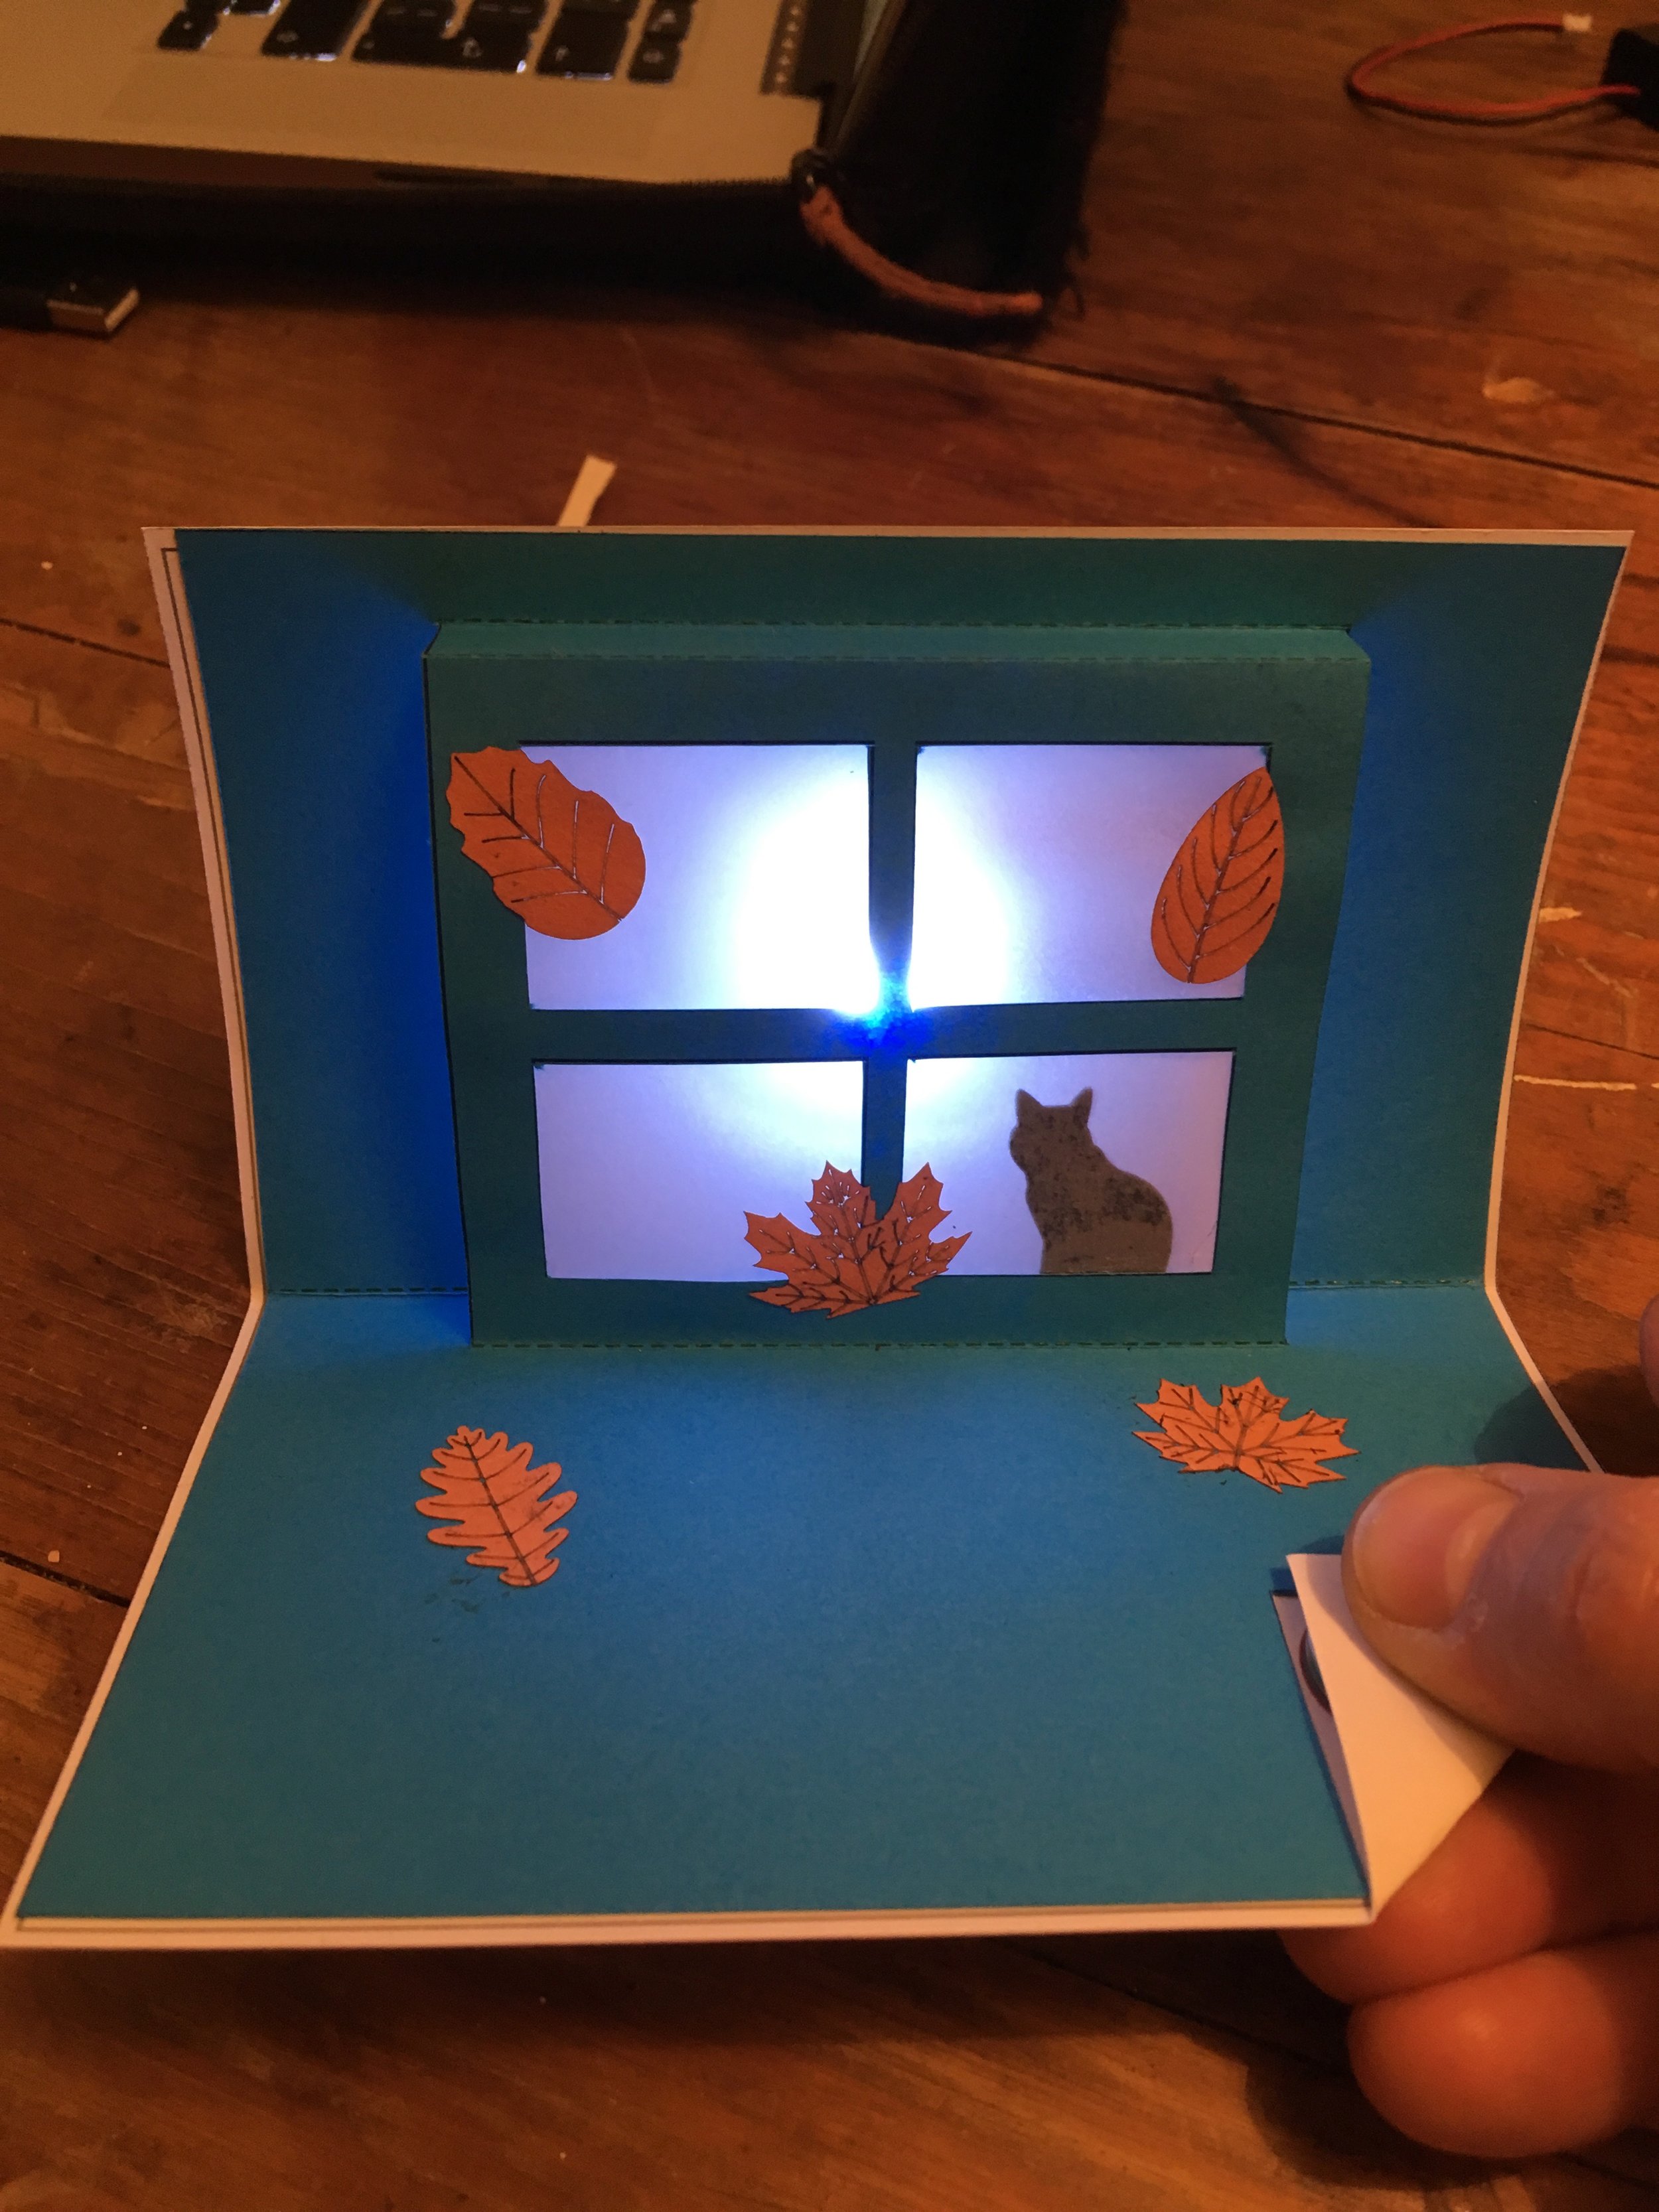
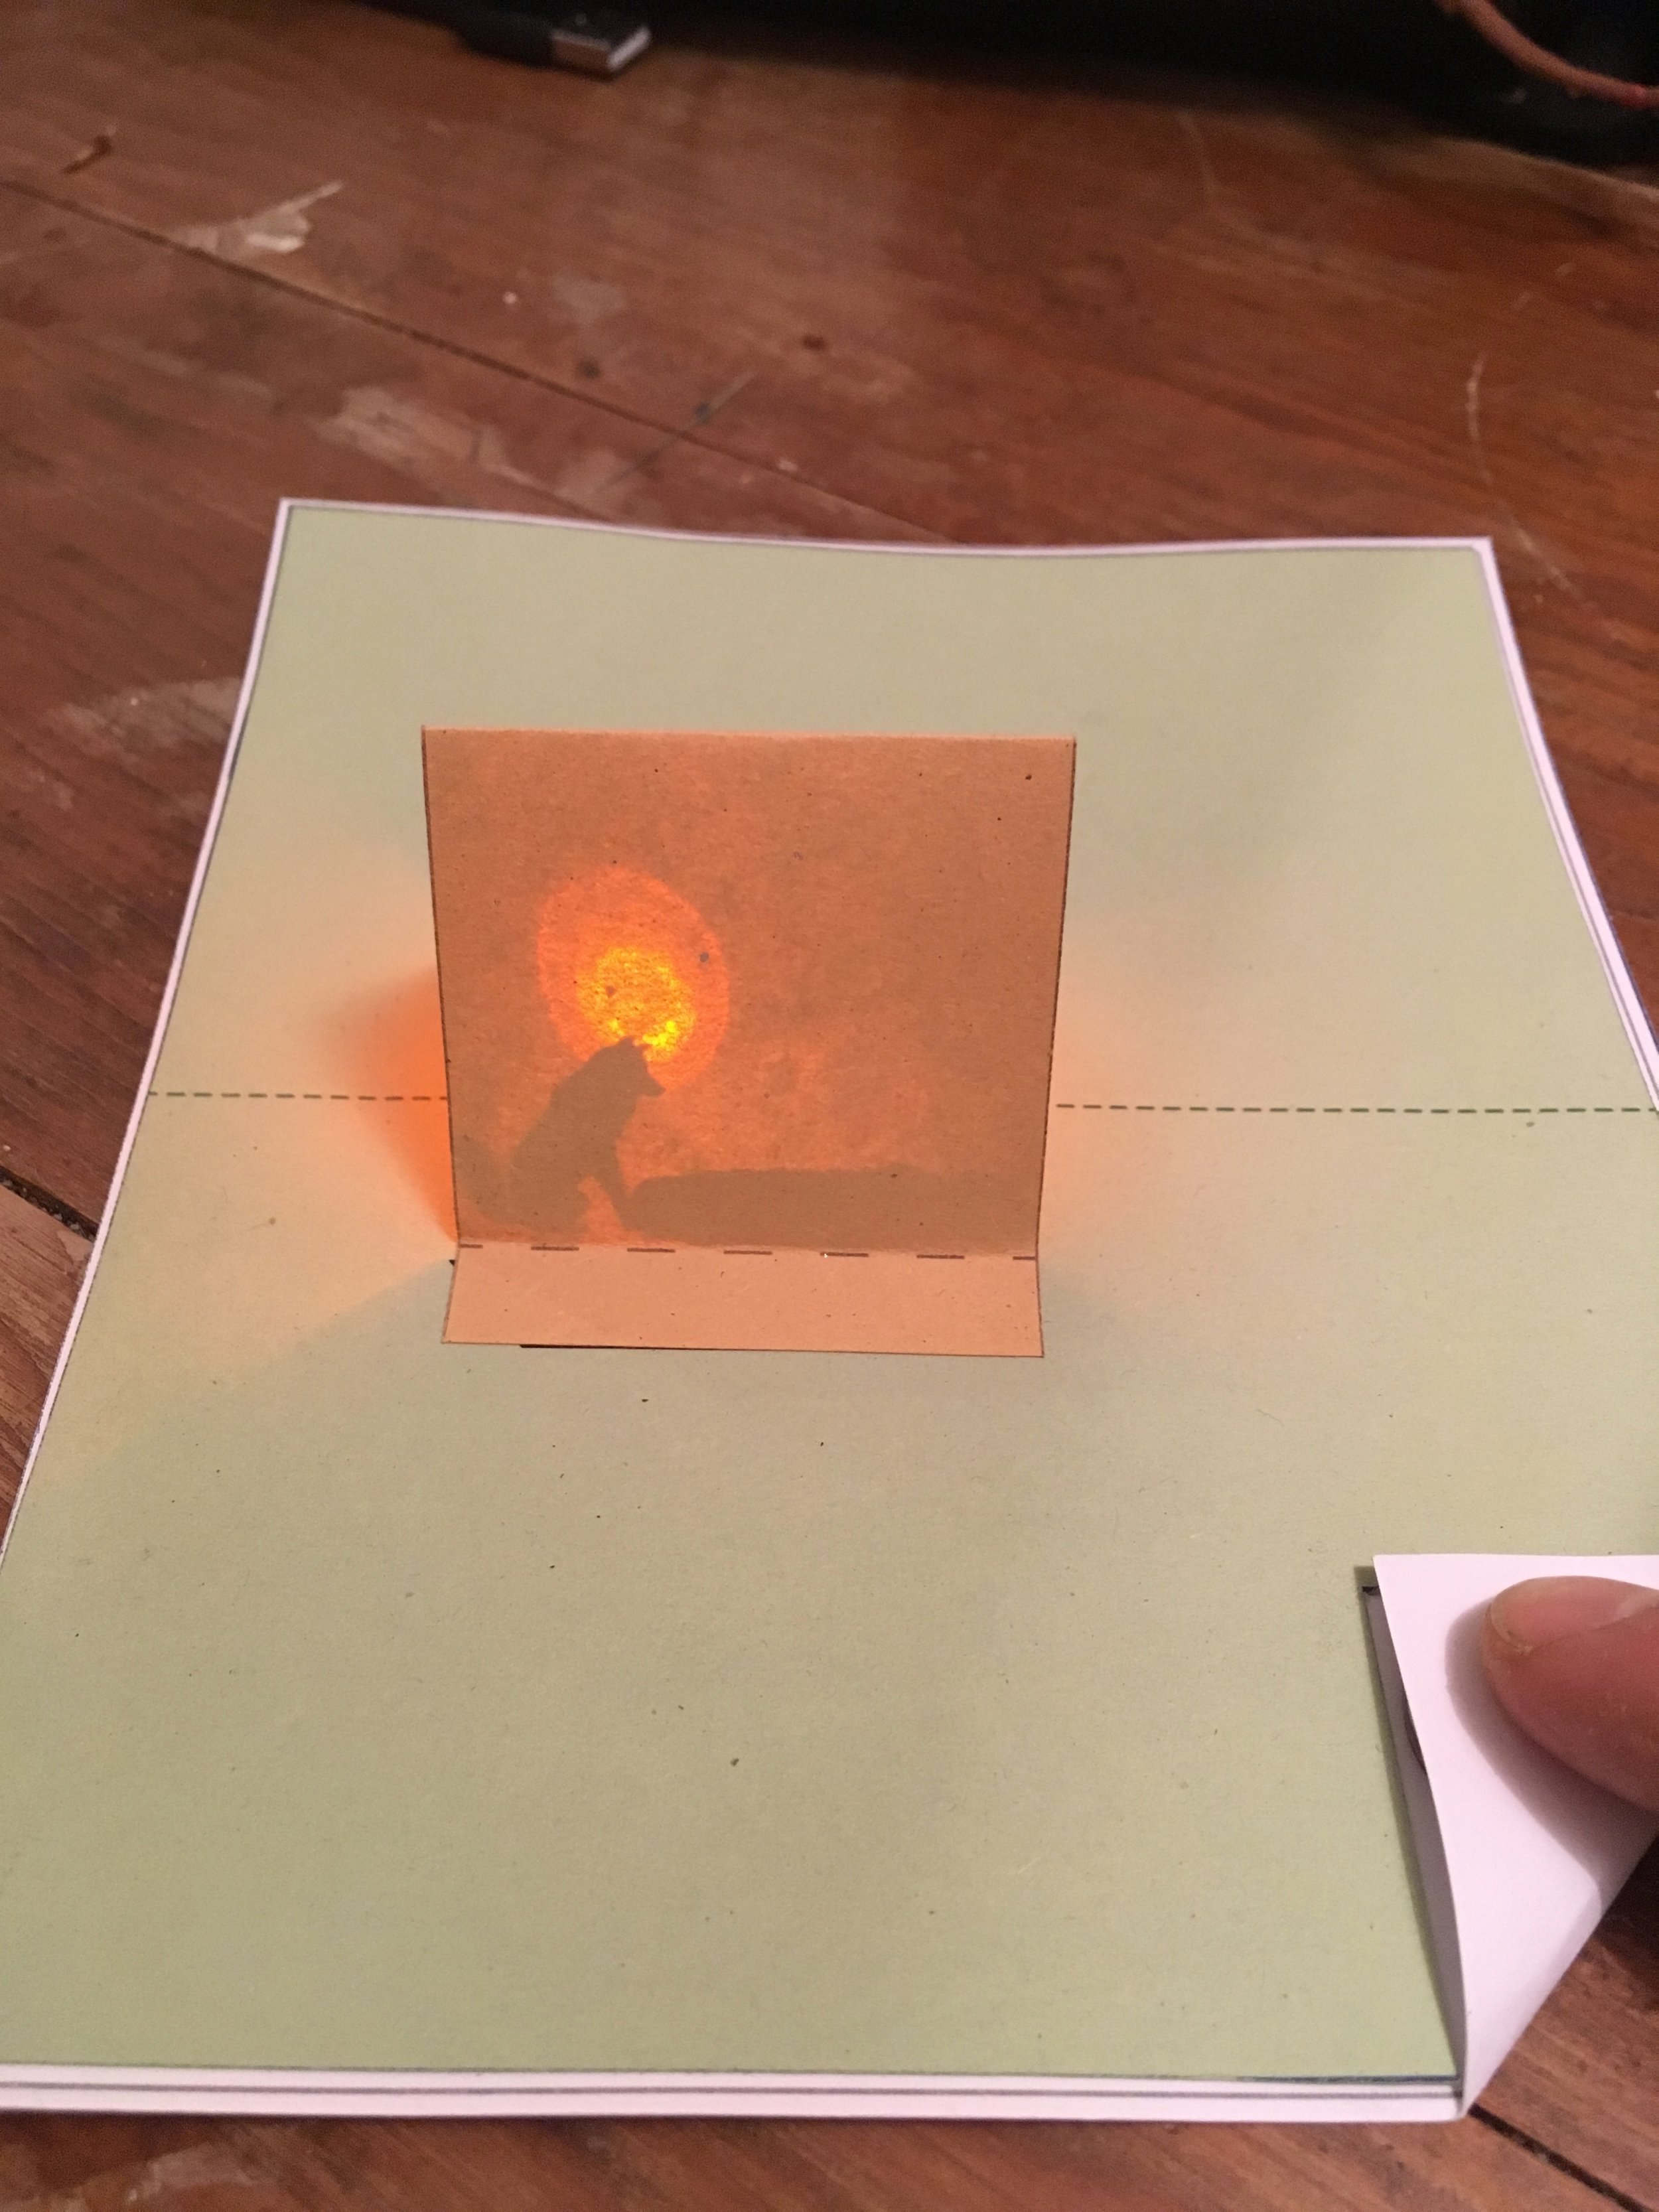
Tracing paper is great to diffuse your LED and gives you a much more even glow instead of a sharp point of light.