Bath Spa Creative Computing Jan 17
Introduction
In these workshops, we will explore Arduino, basic electronics, wireless communications and creative coding to create a network of embedded device nodes that communicate to create a generative sequence that manifests as light and sound. We will be discussing subjects such as the 'Internet of Things' (IoT), embedded systems, emergent behaviour and generative systems.
Follow these links for more information about the Arduino and it's programming environment.
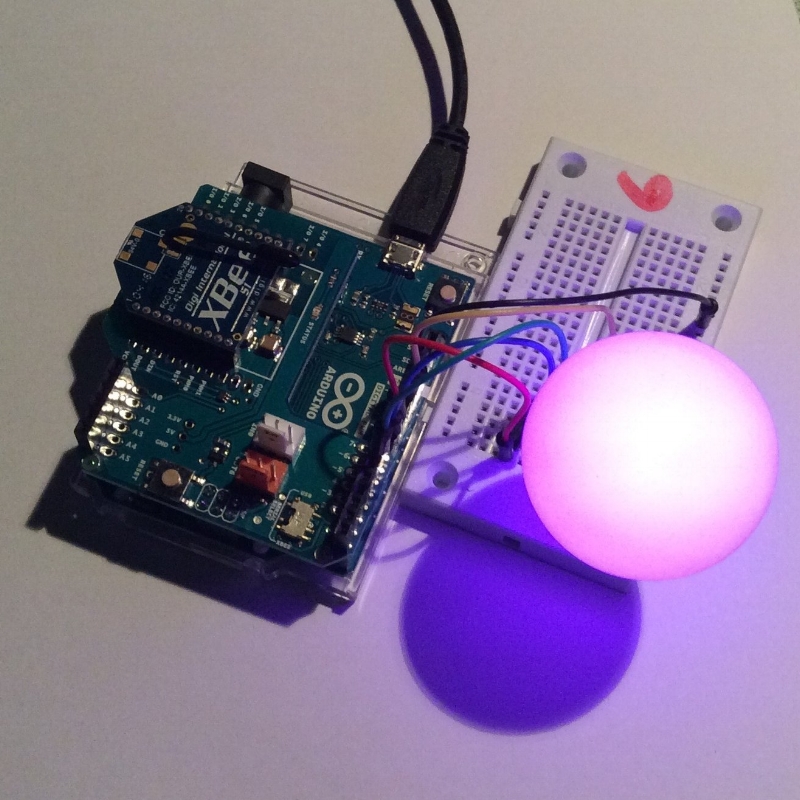
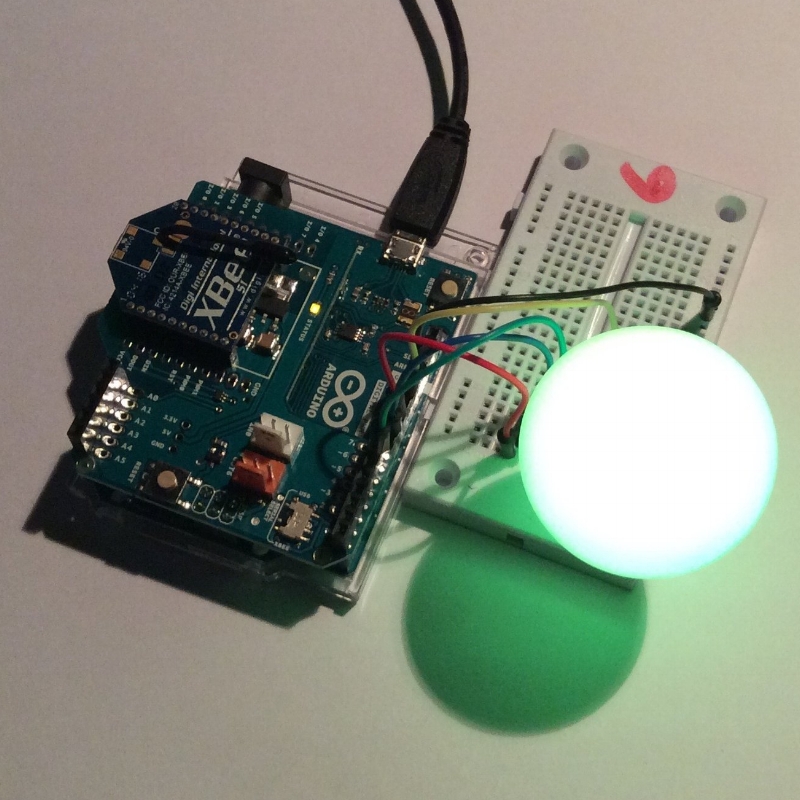
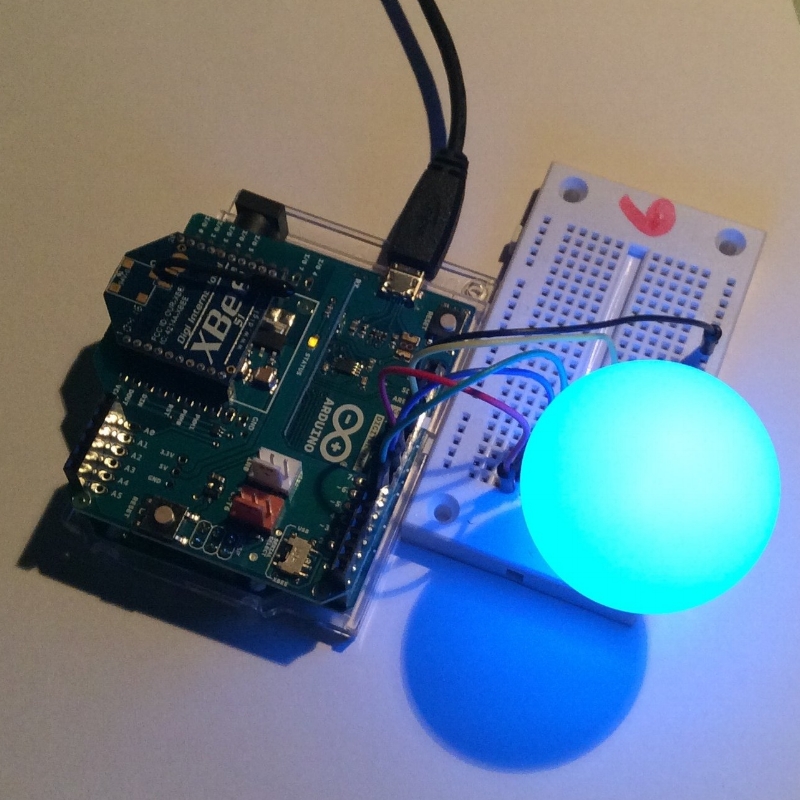
We will be using an Arduino Leonardo, some breadboard to plug your components into, some jumper wire (specially made or just single core wire with the ends stripped), an Xbee shield and some components. There are a few important things to remember:
- Don't make/break connections when the Arduino is plugged in!
- The Arduino has exposed circuit traces on it, keep it off of metal surfaces, don't drop metal things on it or work in an area with lots of bits of metal clippings from your wires all over the place. Keep your work area tidy and you may even want to stick something non-conductive to the bottom of your Arduino like sticky back foam. The boards we got from Farnell have a hard plastic tray that clips to the bottom.
- Be aware that some of the stuff you are using is statically sensitive. I have worked for years without any static protection and not had an issue, but if you work in an environment with thick pile carpets and have a habit of dragging your feet on the floor, you will fry something sooner or later! If you are constantly getting shocks when you touch metal things then you will need to do something about static. You can get anti-static wrist straps if you really need them or try and remember to touch some grounded metal before you touch your sensitive electronics.
- Never trust your hardware! If something doesn't work and you are banging your head on the desk, always check the hardware several times over, never trust your jumper wires, try a different one, try a different component etc. I have wasted a lot of my time troubleshooting code when it was in fact a hardware issue all along
- Breadboard traces are connected as shown below, with the blue rail generally used for Ground and the red for power (+V). You don't need to use the exact same hole as the diagrams that will follow in the exercises as long as connections are on the same rail. On some breadboard you will see a break in the red line which means the rail is not connected over that line so you may need to use a wire to jump across the gap.
